Create New Revisions in Revit
You can use Ideate BIMLink to easily create new sequence revisions in Revit. Create them by adding a NEW value in the Id column in an Excel file created from the Revit Sample Link Files with Ideate BIMLink called, “Revisions-Create-NEW.”
If this method seems familiar, it’s because it is like the methods used to create new elements, as described in this Help file: Create New Rooms or Spaces in Revit using Excel in BIMLink. Synchronizing revision data across linked files is easy this way.
Here are Step-by-Step Instructions
Review Revision Sequences in Parent File
1. Open a project using Revit. Note: If your project has linked files, choose the project that represents the primary source of the revision data for the project.
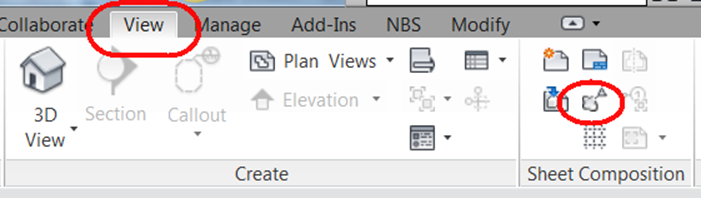
2. Go to the “View” tab in Revit and click on the Revision button from the Sheet Composition panel on the right.
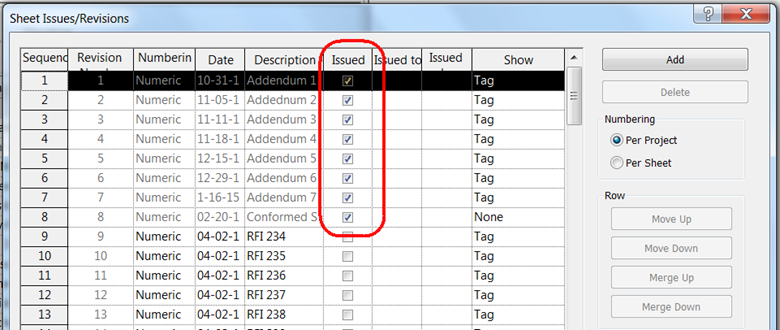
3. Take a look at all the Revision sequences. Sequences that have been issued, as indicated by a checkmark under “Issues” cannot be edited (See image below). If needed, you can uncheck that box before using Ideate BIMLink. These are the fields you can edit for Revisions that are not Issued: Date, Description, Issued, Issued to, and Issued by.
Next, Edit the Revision Data in the Parent File
- Launch Ideate BIMLink
- Click “Load Revit Sample”
- Pick the built-in link “Revisions” from the sample list
- Review the Properties and click “OK” to go back to the main dialog
- Click “Export Revit Elements to Excel” and open the Excel file.
- From here, you can edit any data in a white cell. Remember, only un-issued Revit Revisions can be edited. We recommend that you do not edit this property if you are trying to edit other properties from the same sequence.
- Click “Save.” Hit the “Import Excel Values into Revit” button in Ideate BIMLink to accept and finalize the changes.
- If earlier in the process you made a change to “Issued,” either go into Ideate BIMLink to edit the property or manually re-set the property via the Revision button in Revit.
Now, Copy the Revision Data to a Linked File
With the Revision data setup to your standards, enhance collaboration across disciplines by using the same data to create matching data in another file.
Below are instructions (we assumed that the Revision sequences have not yet been setup.)
- Open the Revit project file into which you’d need to copy the Revision sequences defined within the original ‘parent’ file
- Start Ideate BIMLink
- Click “Load Sample”
- Select “Revisions” from the sample list
- Reviewing the Properties, click “OK” and return to the main dialog
- Save the results to a new Excel file by clicking “Export” and open that file.
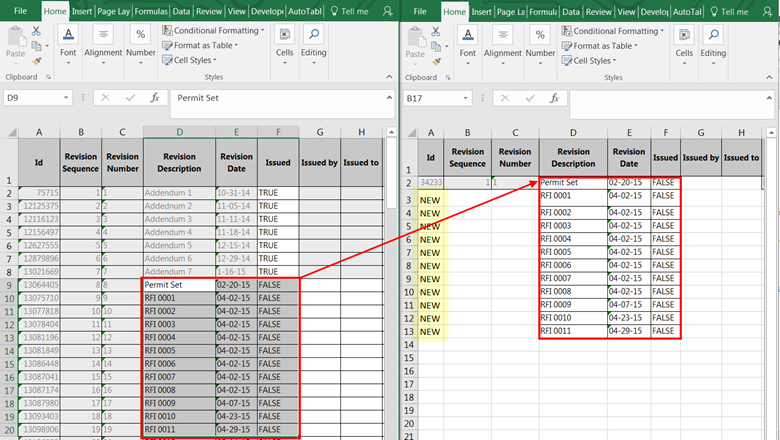
- Copy the Excel data from the original file to the new file. See the image below. NOTE: DON’T copy the data from Column A, B, or C
- In Column A, type in “NEW” for each Revision sequence you want to create with this second Revit project file. Column B and C values will be automatically setup by Revit during the import process
- Hit “Save” and then
“Import” in Ideate BIMLink to complete the changes.
Related Topics:
Manage Revit Sheet-based Revisions
It is inevitable that you will need to create sequence revisions. Revit along with Ideate BIMLink make the process easy.
Browse our website to learn about the many ways to use Ideate BIMLink to simplify data revisions; Revit data is exported to Excel for easy editing, and then the revised data is imported back into Revit with ease.
Explore recent posts


