Explore the Library
RESOURCE Library CONTENT Type
Articles
Find articles on training, support, customer successes and more on all our products for professionals across the AECO industries in this resource library.
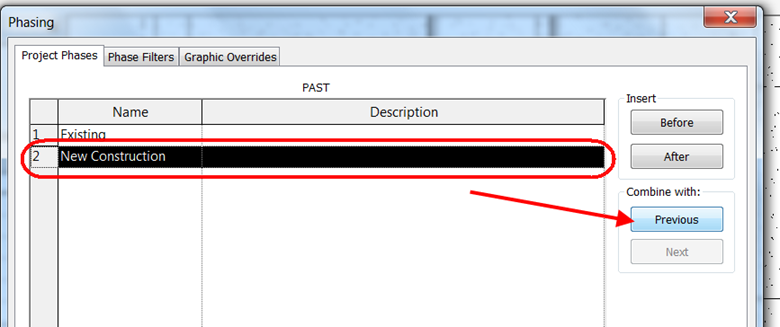
SUPPORT - ARTICLE | Follow the steps in this exercise to walk through the steps required to create new demolition and new construction views based on existing floor and ceiling plan views.
TRAINING - VIDEO | Watch this webinar recording to discover how Ideate Software solutions can streamline QA/QC workflows in Revit. Learn how to enhance productivity and precision with powerful Revit add-ins designed for efficiency. If you're a BIM professional, this session is perfect for discovering how to optimize your workflows and elevate your BIM strategies.
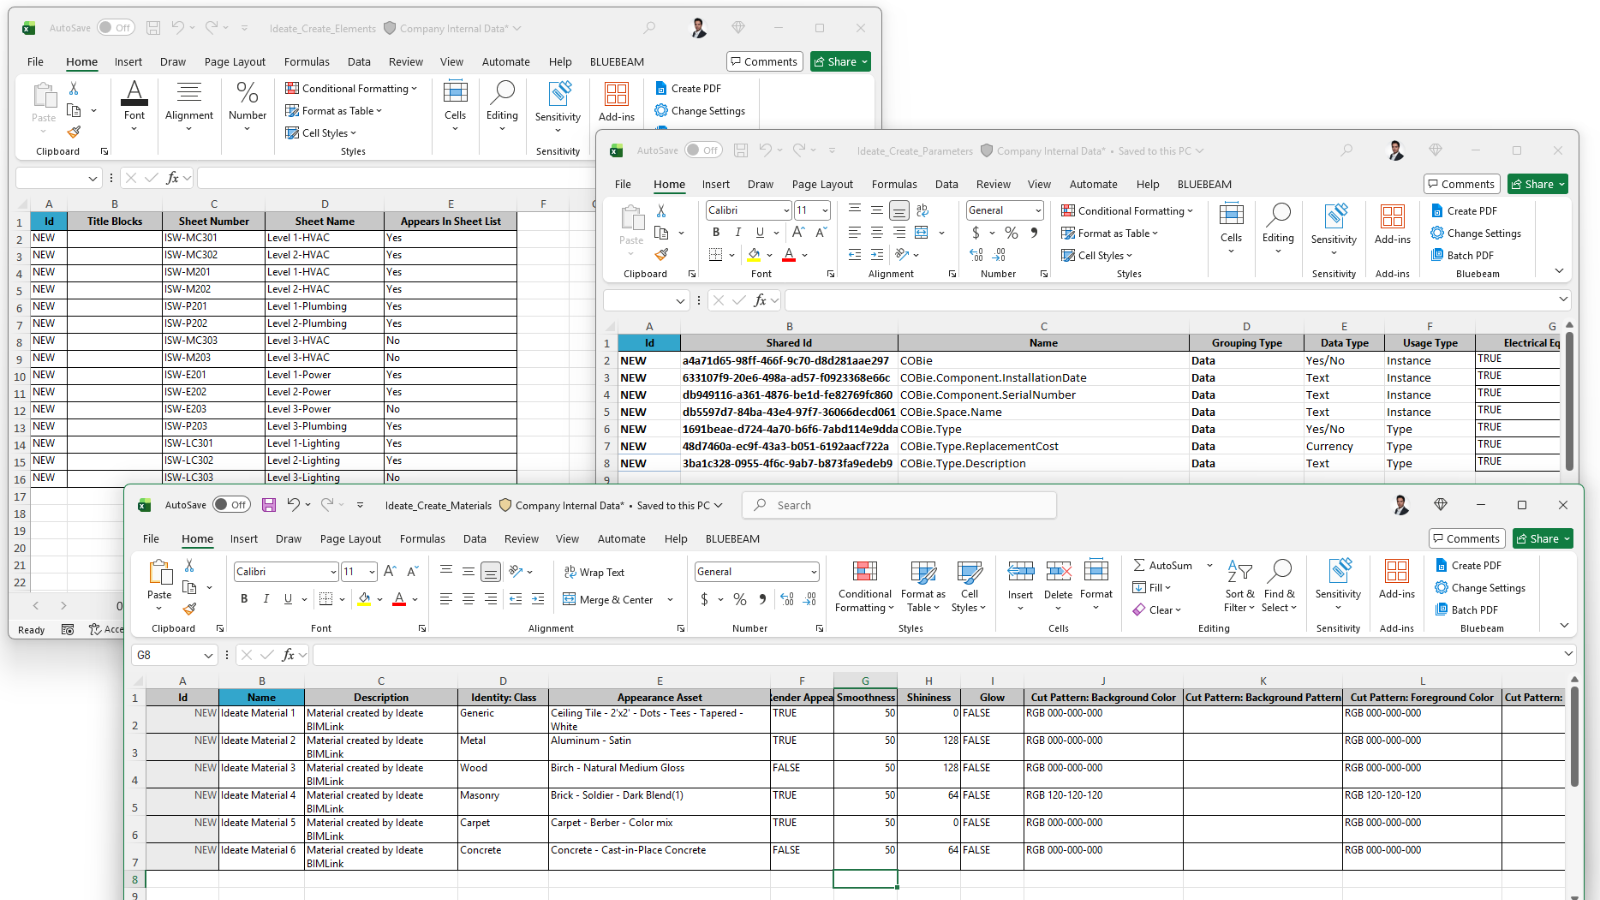
TRAINING - ARTICLE | Ideate Automation provides a purpose-built solution for Revit content creation automation, allowing teams to use Microsoft Excel to drive data directly into Revit models and families.
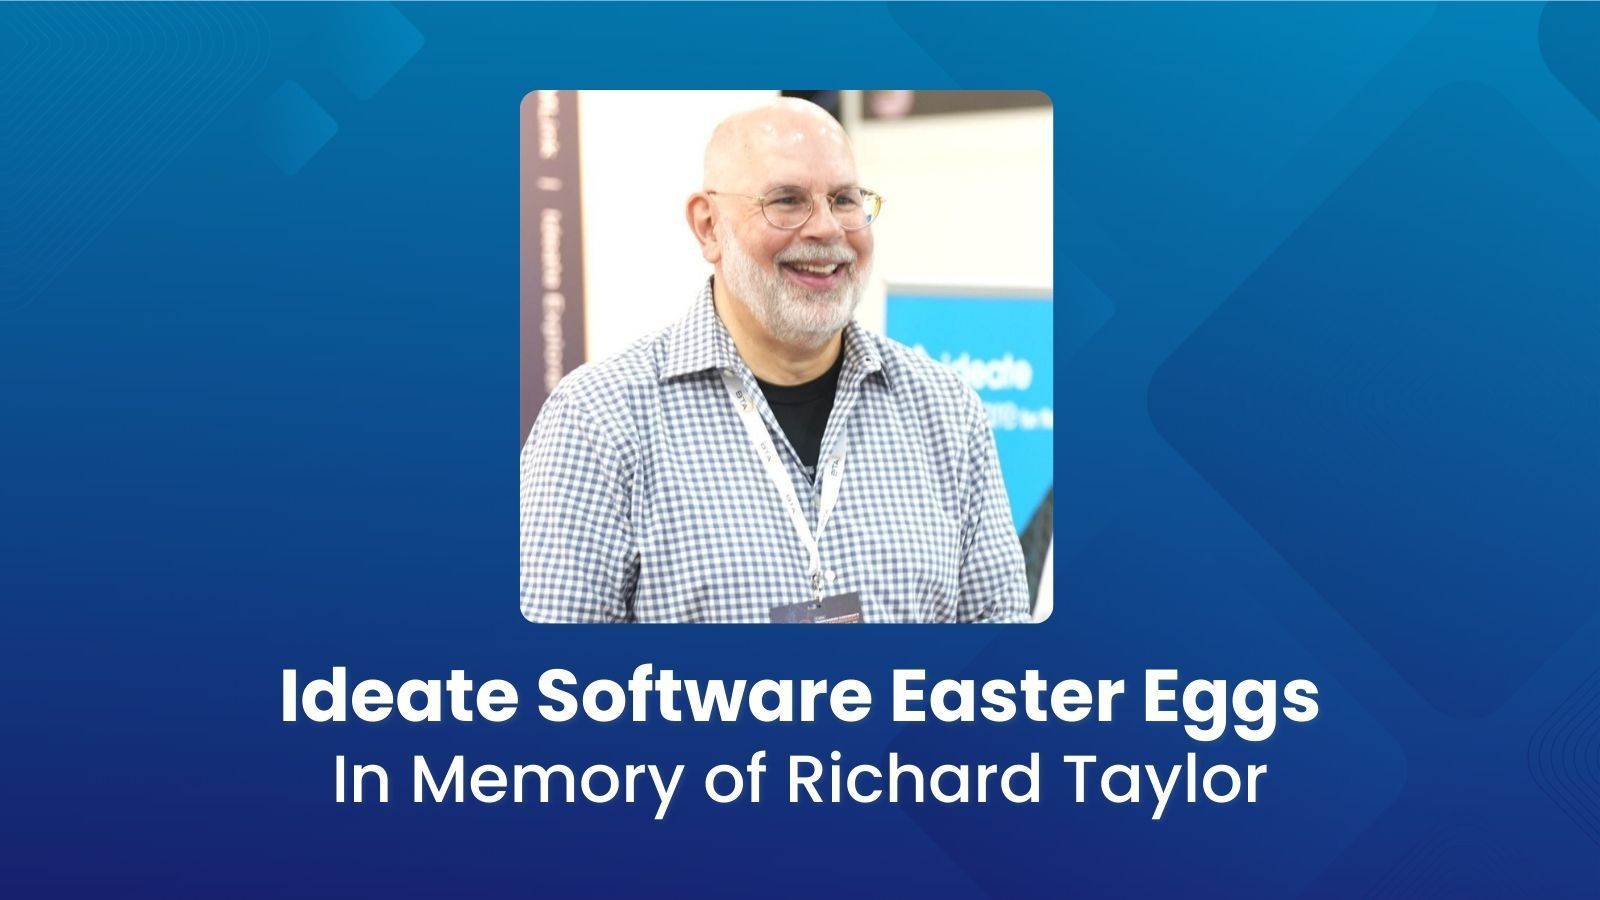
NEWS - ARTICLE | This January 4th, we pause to remember and celebrate our friend and colleague Richard Taylor—a kind and generous person, a passionate technologist, and someone whose curiosity and joy for discovery infused the spirit of Ideate Software.
TRAINING - ARTICLE | One specific area of digital transformation, regulatory shifts, or market demands is the Circular Economy - which aims to eliminate waste and keep materials in use for as long as possible.
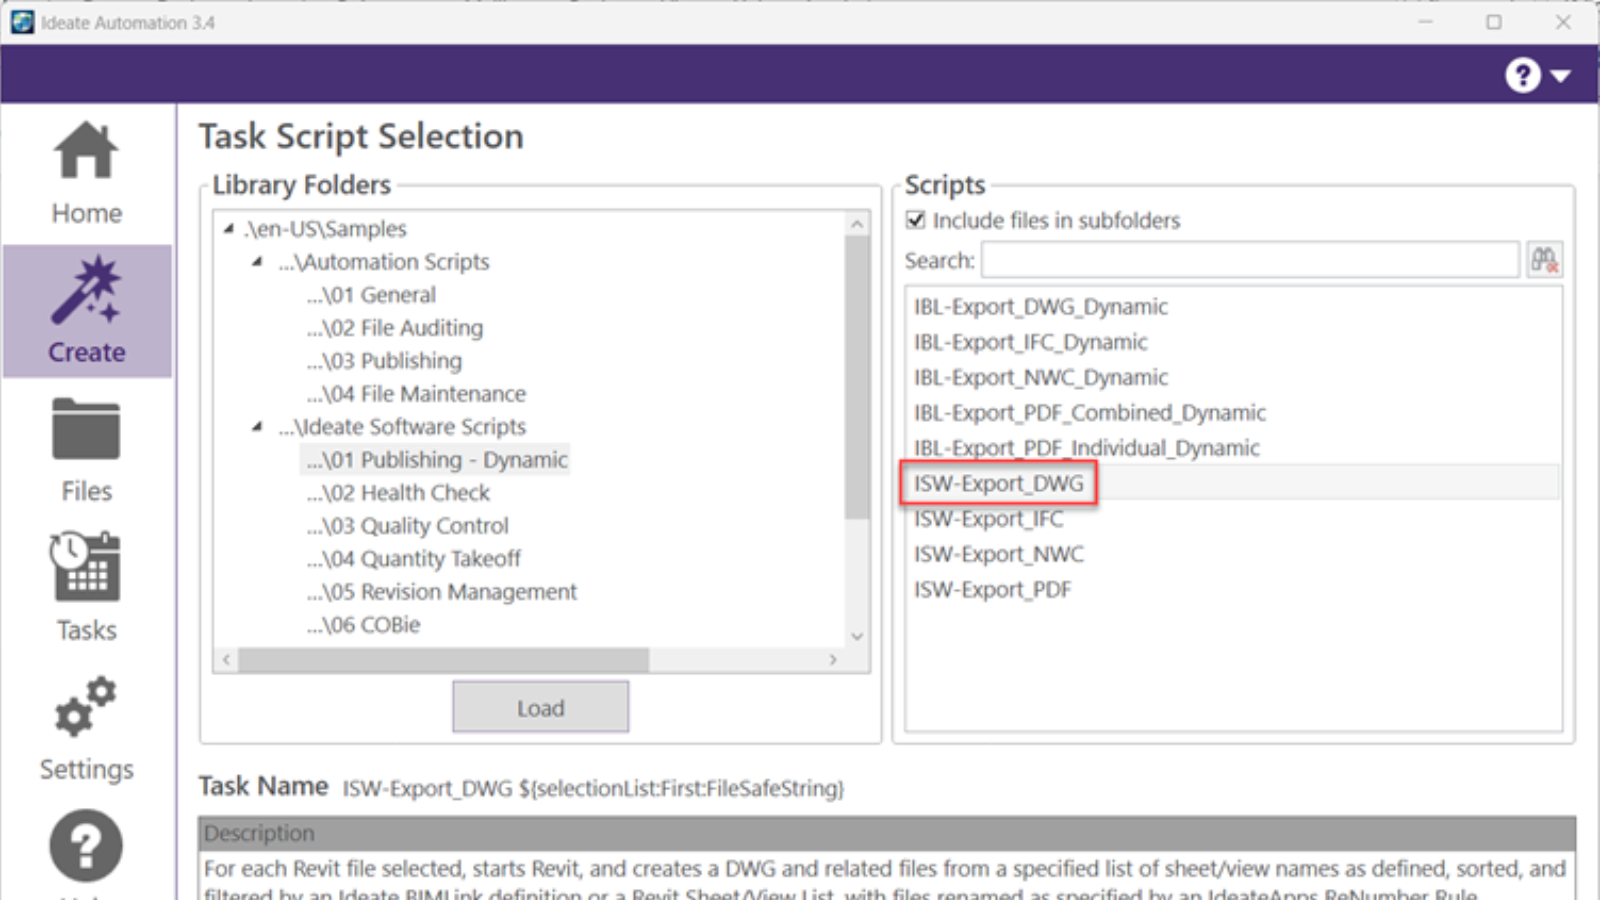
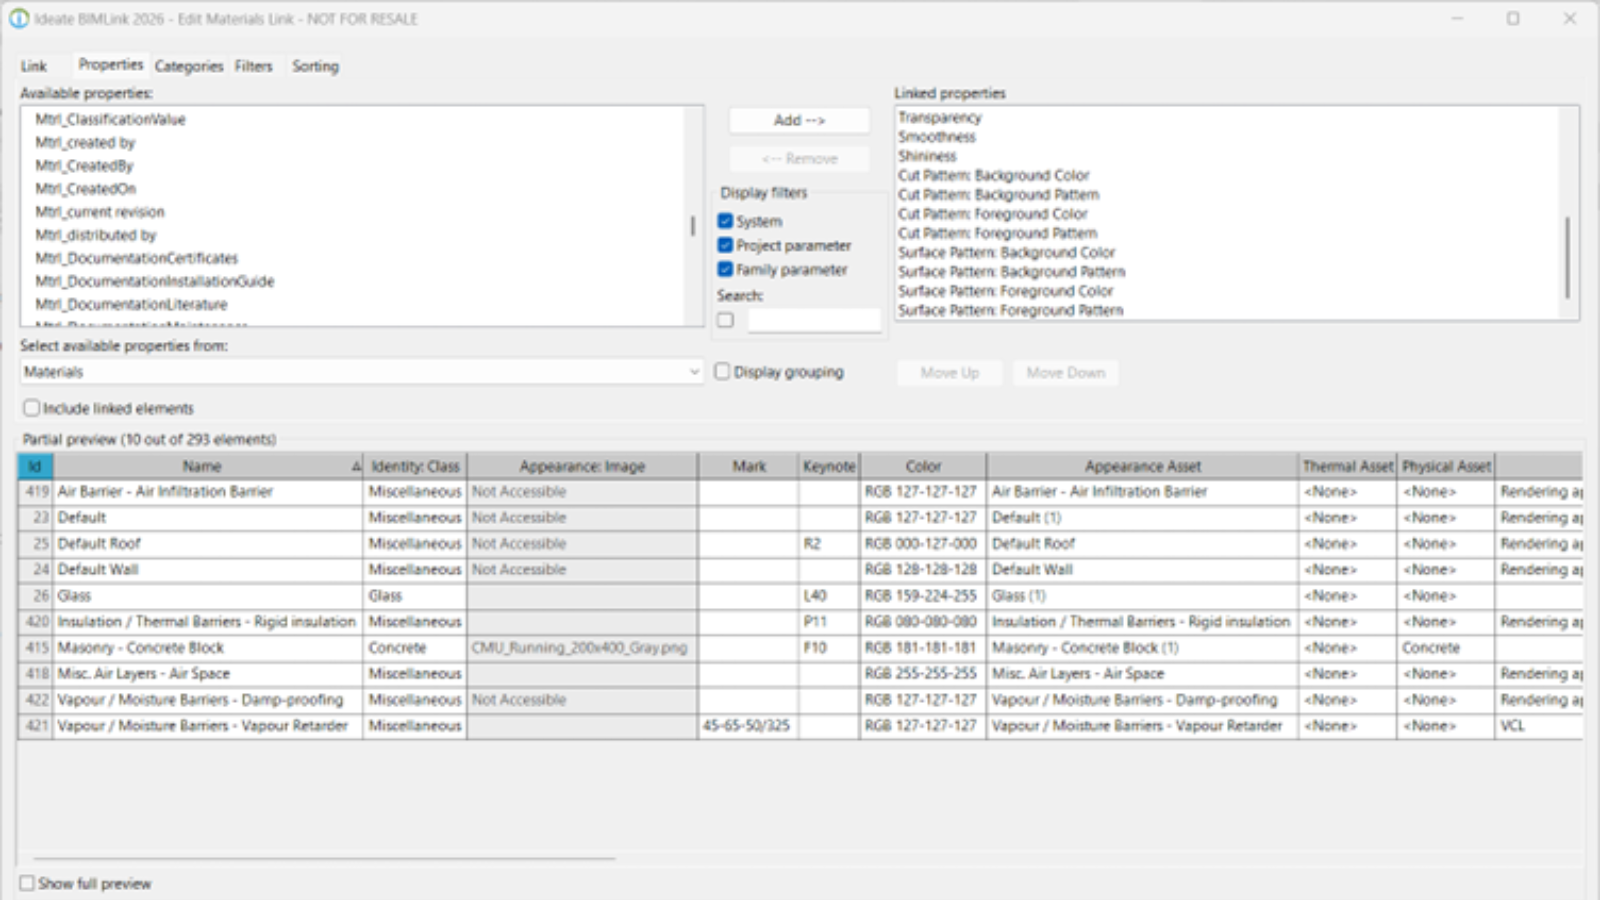
TRAINING - ARTICLE | Creating DWG exports from Revit models is still an important deliverable in most AEC projects. When exporting to DWG from Revit, there is no way to control the names of the resulting dwg exports. We are limited to the choice of Short (sheet number) or Long (Revit model name, sheet, etc.).

NEWS - ARTICLE | Ideate Software, a leading developer of Revit productivity tools, is excited to reveal its refreshed logo, marking the next step in its journey as part of the Graitec Group. The new look blends the Ideate legacy of innovation with the global strength of Graitec.
NEWS - ARTICLE | We know many of you have been eagerly awaiting the next release of Ideate Software—and we’re just as excited to share it with you! In late June, we’ll be launching updated versions of the Ideate Software bundle for Autodesk Revit 2023 through 2026. Whether you’re working in the latest version or supporting projects in previous releases, this update is for you.
TRAINING - NEWS | Leveling up your BIM game with Ideate Software doesn’t have to hard or time-consuming with our 15@15 Training Series. This series of 15-minute online sessions cuts right to the chase with essential information to enhance your skills, unlock new efficiencies and elevate your ability to automate tedious tasks —all while reducing errors in your Revit model.
BLOG - ARTICLE | Outside of work, we all have activities that bring us joy—whether it’s hiking, fishing, traveling, or simply spending quality time with loved ones. Maintaining a healthy work-life balance means making time for what matters most, and for some, that includes giving back to their communities. Earlier this month, our Social Media and Marketing Specialist, Aleksandra “Ola” Golda, donated her time to a cause related to senior citizens: chronic loneliness. While loneliness can affect anyone, it is especially prevalent among the elderly, making efforts like hers even more impactful.
NEWS - ARTICLE | 2024 was an amazing year of unprecedented growth and positive change for Ideate Software.
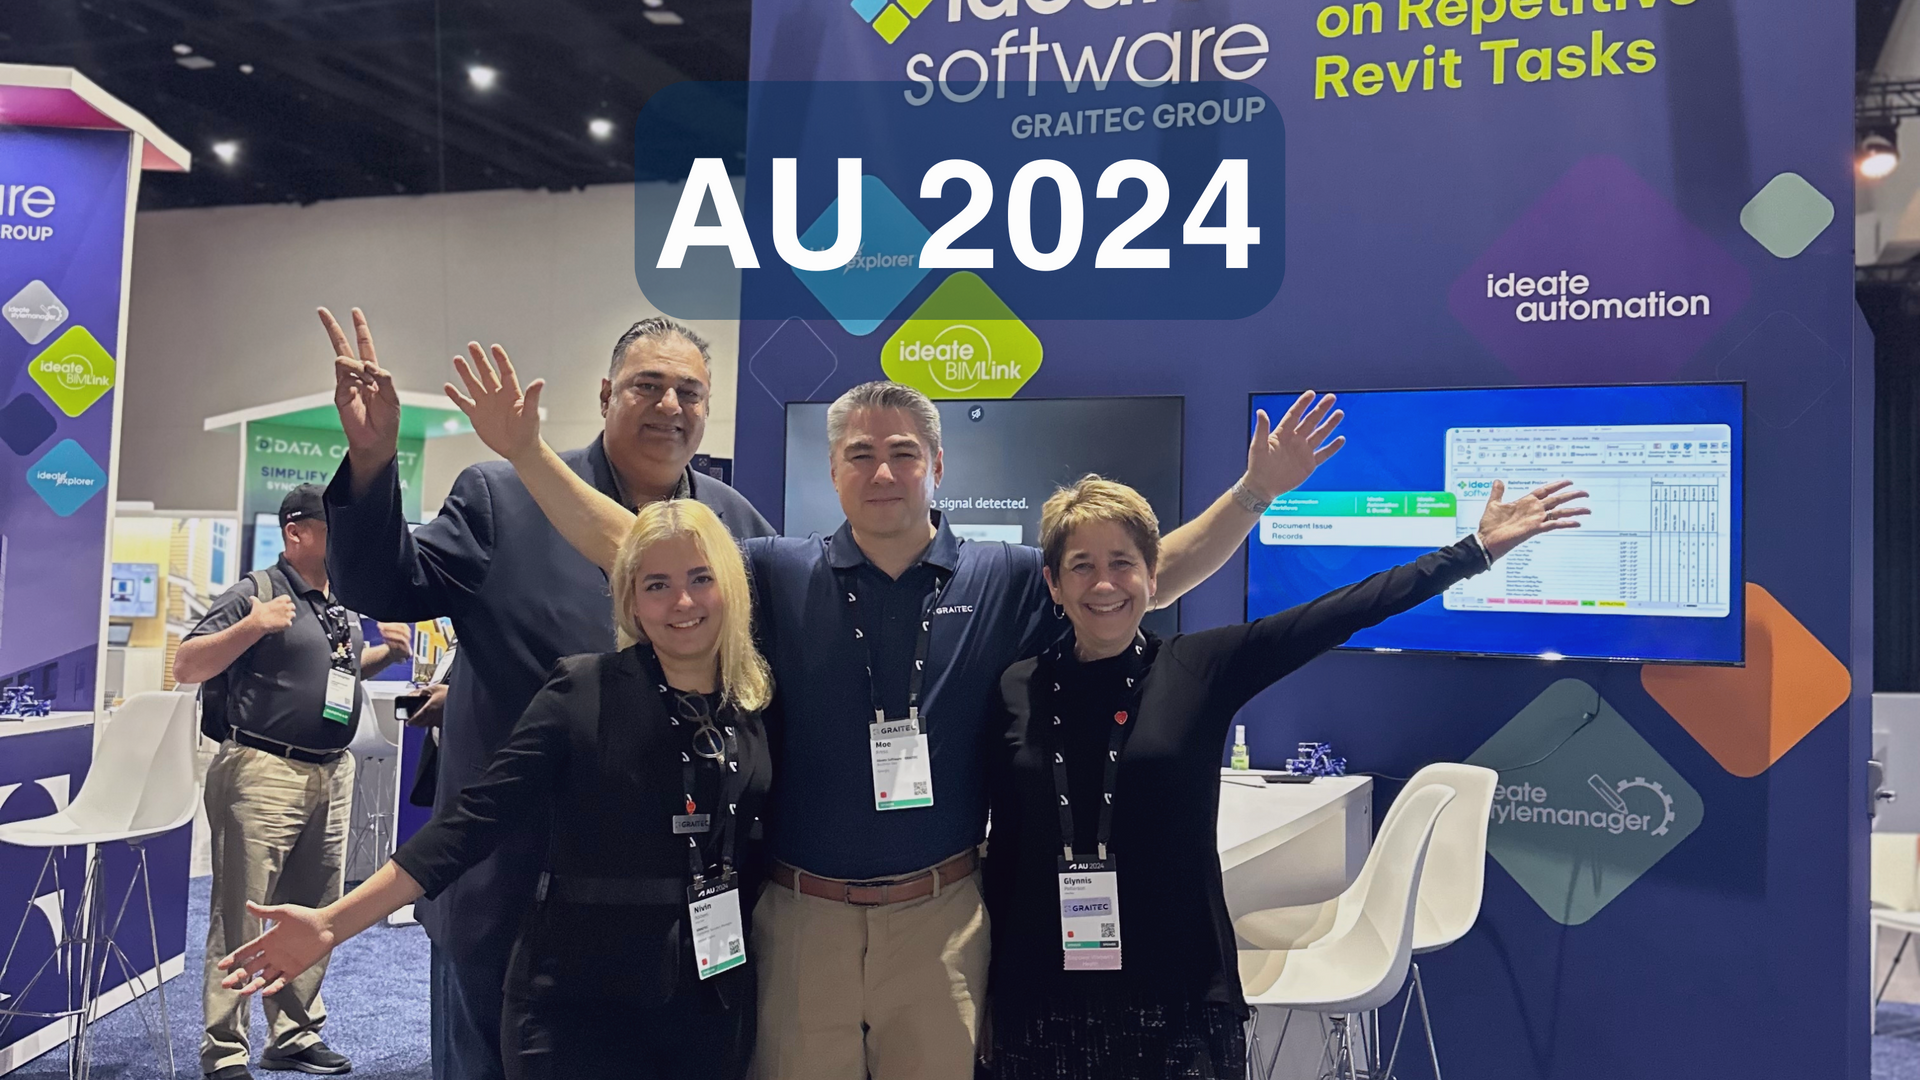
NEWS - ARTICLE | Ideate Software and Graitec Group joined forces in San Diego, October 15 -17, 2024, as Diamond Sponsors at Autodesk University (AU).
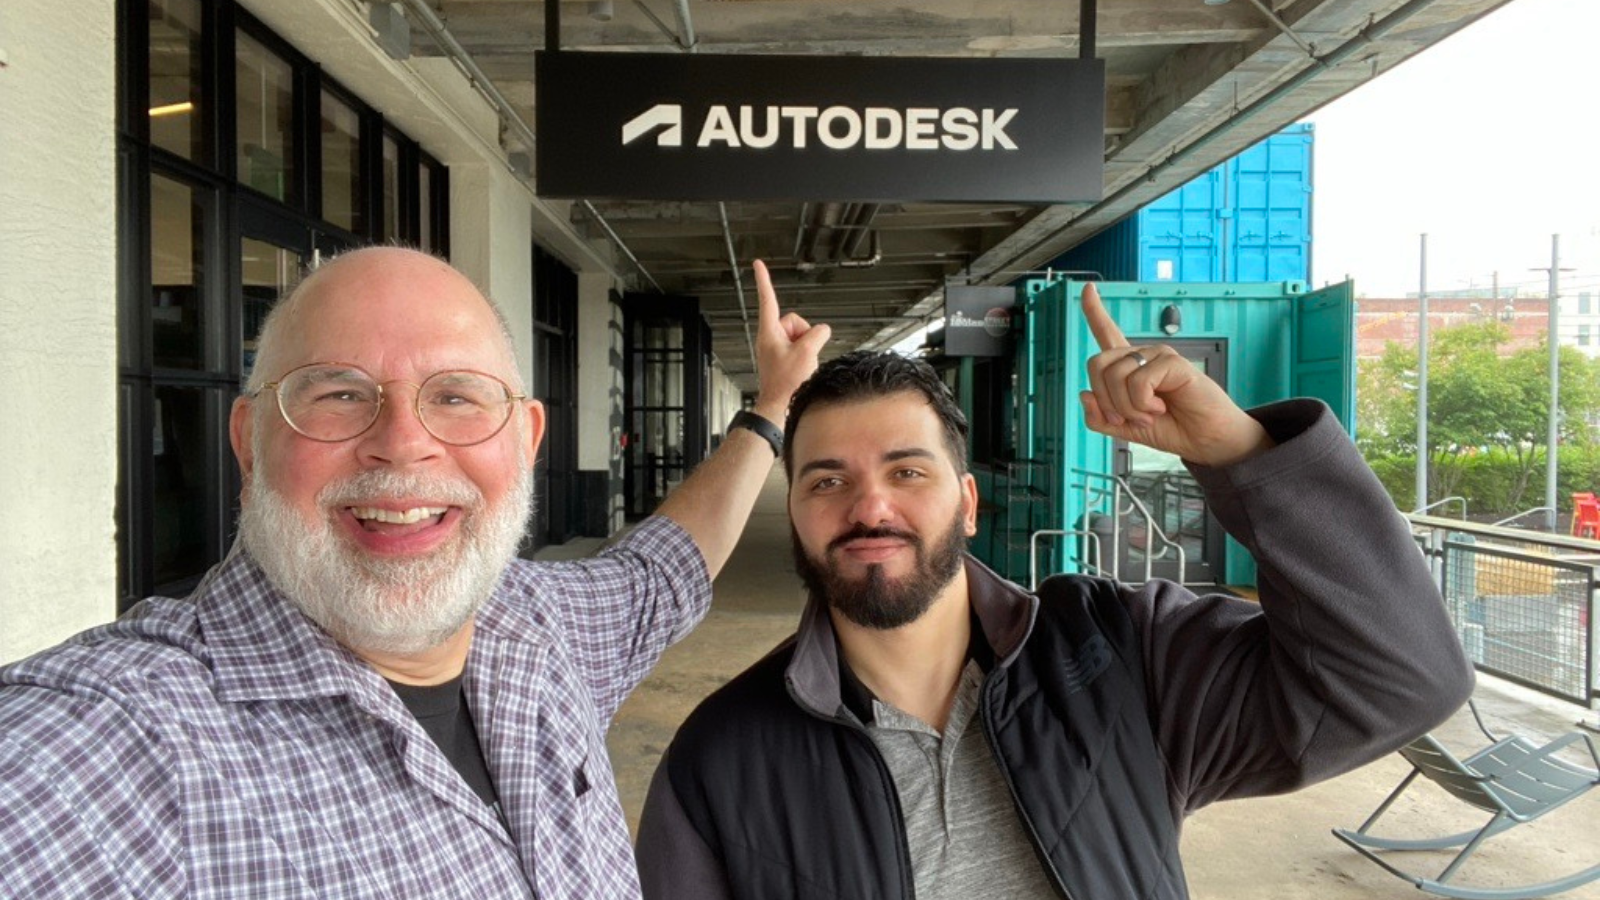
NEWS - ARTICLE | Richard Taylor and Rami Benchaita hit the road in Boston to show clients timesaving tips with Ideate Software.

EVENTS - ARTICLE | Ideate Software’s Technical Evangelist, Richard Taylor took wing to visit Australia, September 2nd through 7th, 2024, visiting the BiLT Conference and clients.

