Why is exporting to PDF from Revit taking too long?
With this short list and the proper tools, you can audit your model and find your Export to PDF from Revit culprit!
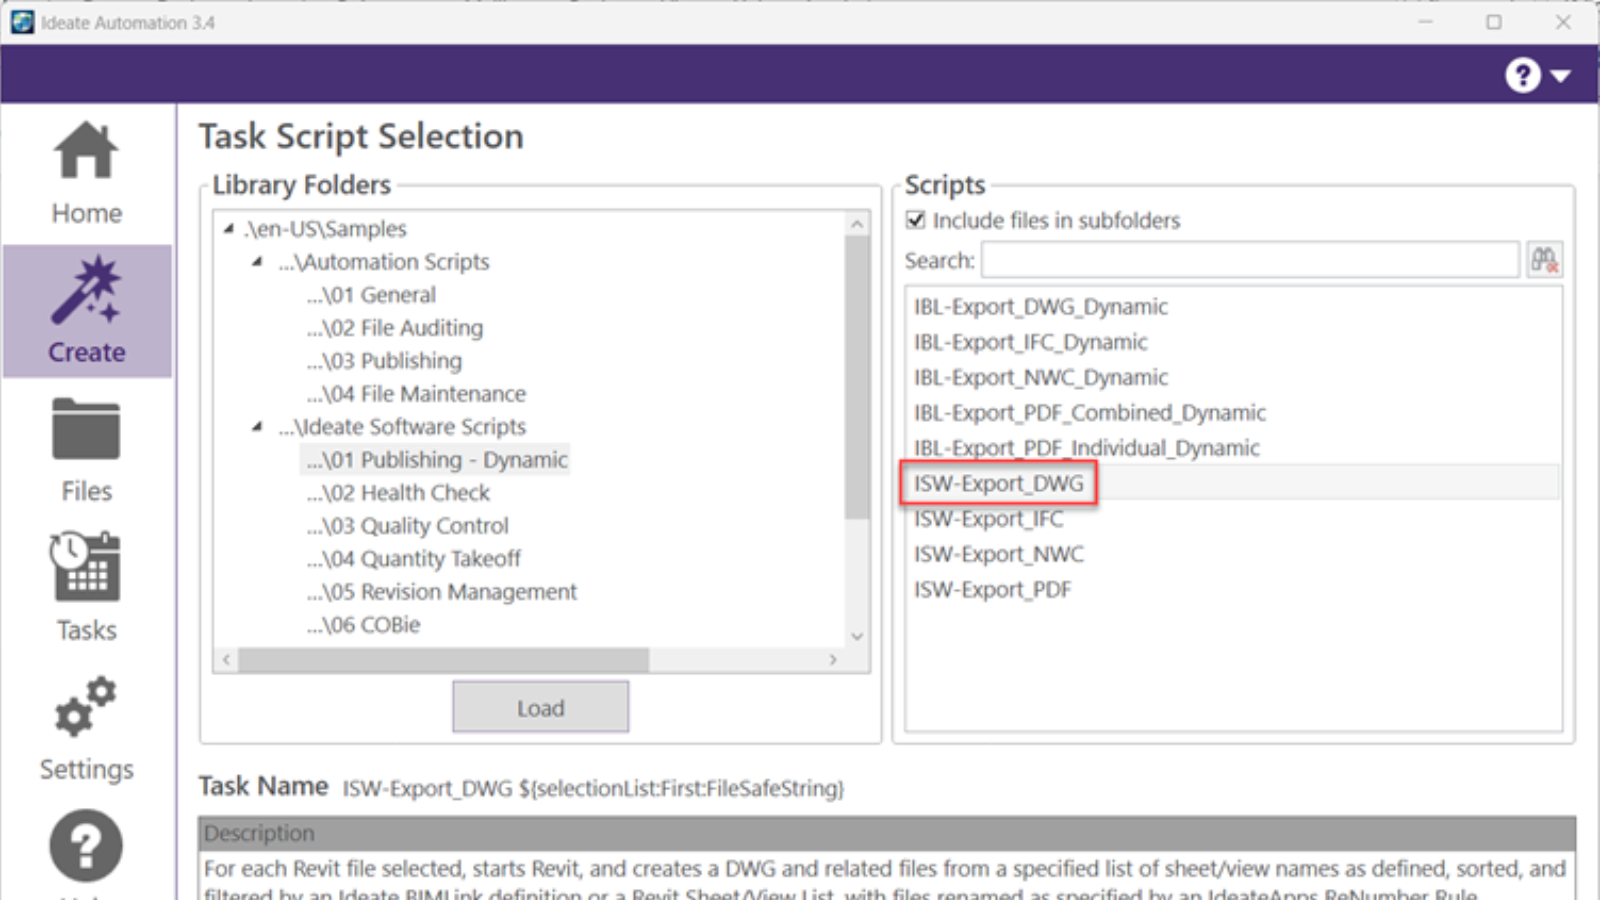
Recently, a customer was using our Ideate Automation script: “AUT-Export-Combined_PDF” and ran into a timeout error during the export process. Our timeout for this workflow was set to two hours. As a result, we changed the timeout to four hours for the latest release.
This also sparked a conversation around the factors that impact the export to PDF time. Here is a short list to help you troubleshoot your model before exporting to PDF:
- Views Far Clipping and Depth Clipping Parameters Aren’t Managed
Showing too much of what you don’t need in a view increases the time it renders it for the view, therefore impacting the time it takes to print, especially if the clipping setting is set to “No Clip,” which means that it’s infinite, and you are at risk of showing more than what you need. |
Here are the settings you can manage to control this:
- Depth Clipping: Plan Views and Plan Callouts
- Far Clipping: Elevations, Elevation Callouts, and Sections
Note: Far Clip Settings for Elevation Callouts can either be independent or same as parent view, however, Sections and Elevations are inherently independent.
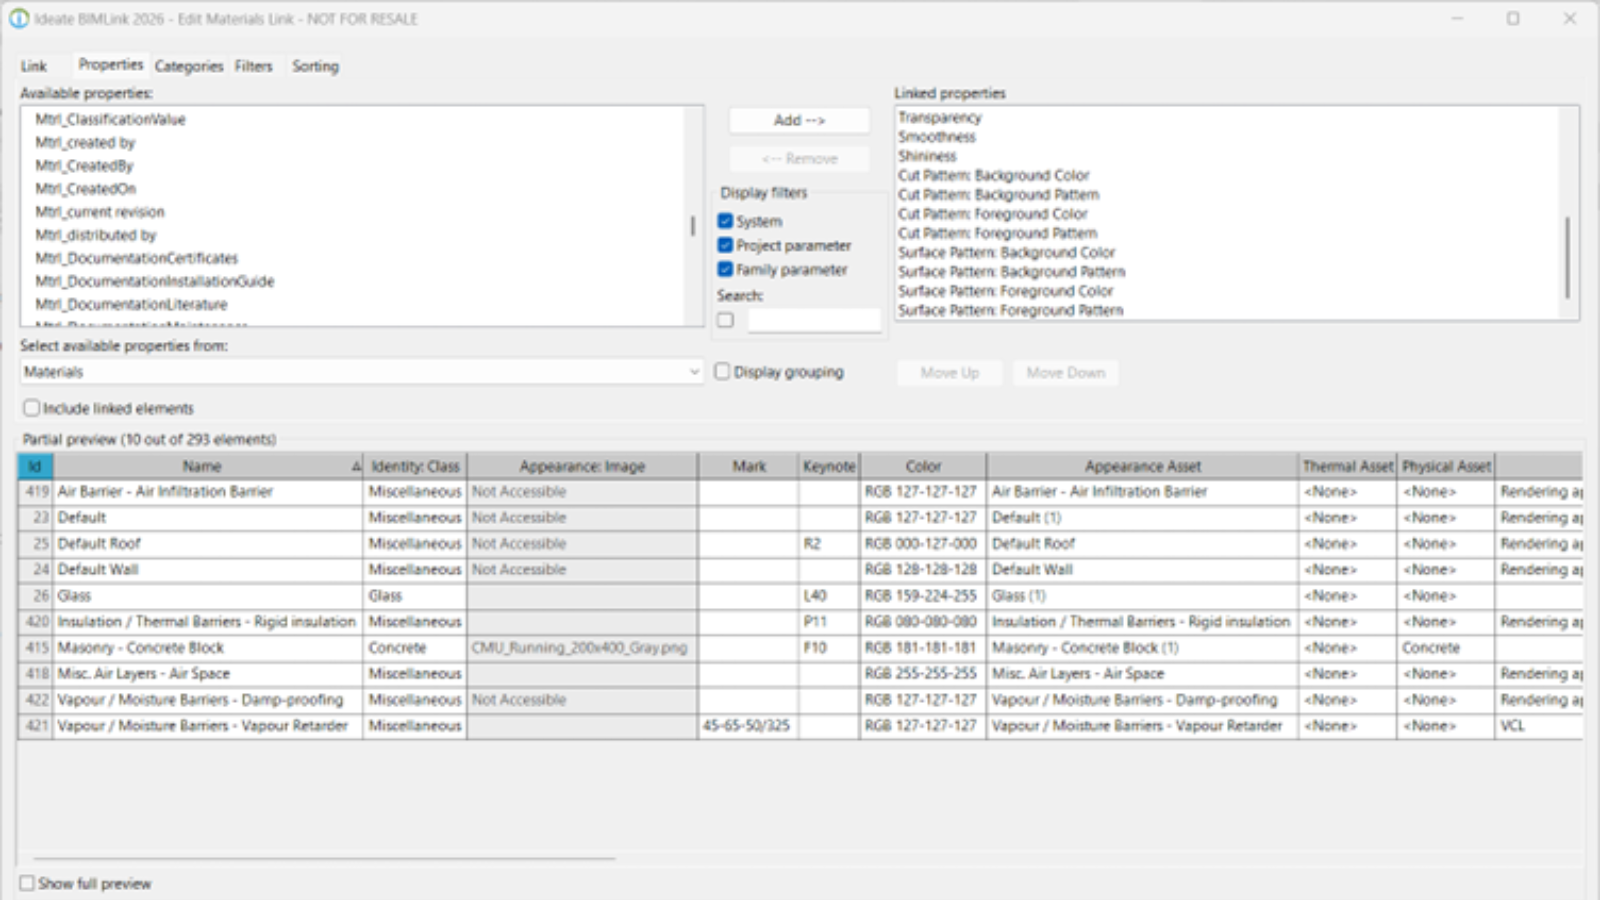
To manage this, you can utilize Ideate BIMLink to audit your Views clipping options. Ideate BIMLink has a link definition named “Views” you can use as a starting point and add the necessary parameters. In this case we need “Depth Clipping” and “Far Clipping”
You’ll notice that the clipping values are 0,1,2:
- 0 = No clip
- 1 = Clip with line
- 2 = Clip without Line
“Far Clip Settings” is another parameter we can investigate. There are two options as indicated above, Same as Parent View or Independent.
- 0 = Independent
- 1 = Same as parent view
When managing Views, it’s important to also understand the differences between Detail and Floor Plan Callout. Here is a knowledge-based article from Autodesk for your review: Understanding the differences between details and floor plan callouts in Revit LT.
2. Views Far Clip Offset Isn’t Managed
To manage this parameter in BIMLink, you need the “Far Clip Offset.” You can go ahead and add it to your Link Definition. When far clipping is set to clip with or without a line, you can control the Far Clip Offset. You can audit your model by reviewing and editing the distance so that it’s not showing too much information for that view.
3. Depth Cueing is Enabled for the View
This property can be managed with “Depth Cueing: Show Depth.” If this is enabled for a view, it will take longer to print and it rasterizes the image.
4. Views with Shadows Turned on
If shadows are turned on for a view, it takes longer to print as it rasterizes it, much like Depth Cueing. Unfortunately, there is API limitations to access this data, but it’s on our roadmap once Revit makes it accessible.
5. Views Detail Level
The rule of thumb for Views detail level is that the majority should be set to Coarse level of detail. Use Medium or fine level of details for detail only. To manage this, you can utilize the “Detail Level” parameter and add it to the “Views” Ideate BIMLink Link Definition.
6. Number of Views on Sheet
Using the BIMLink Link Definition “Views,” you can use the property “Sheet Number” to investigate how many views are on the Sheet. Sheets that contain a lot of views take longer to print.
7. Views with CAD Links that aren’t clean
A dense CAD file on a view increases printing time. Cleaning CAD links before linking them into the Revit model is a general rule, however, there comes times where you miss a few layers or want to do a quick merging or deleting layers. You can use Ideate Style Manager; Navigate to Object Styles and check Imported Styles. Scroll to the DWG file you’re looking to clean. You can analyze, merge, and delete certain layers.
You can also check if there are any CAD Links or imports in your project to begin with. You can utilize the Ideate BIMLink definition “HC-Imports” and go to the Filters tab and delete “Is Linked” filter to list all CAD Links and CAD Imports in the project.
As you see, there are many factors that impact the time it takes to export to PDF from Revit. With this short list and the proper tools, you can audit your model and find your Export to PDF from Revit culprit!
Explore recent posts


