Explore the Library
Ideate Software Resource Library
This is your one-stop-shop for all articles, client testimonials, news, events, brochures, and more. Enter text in the search bar to the right or use the dropdown menus to hone into the specific content you are interested in viewing.
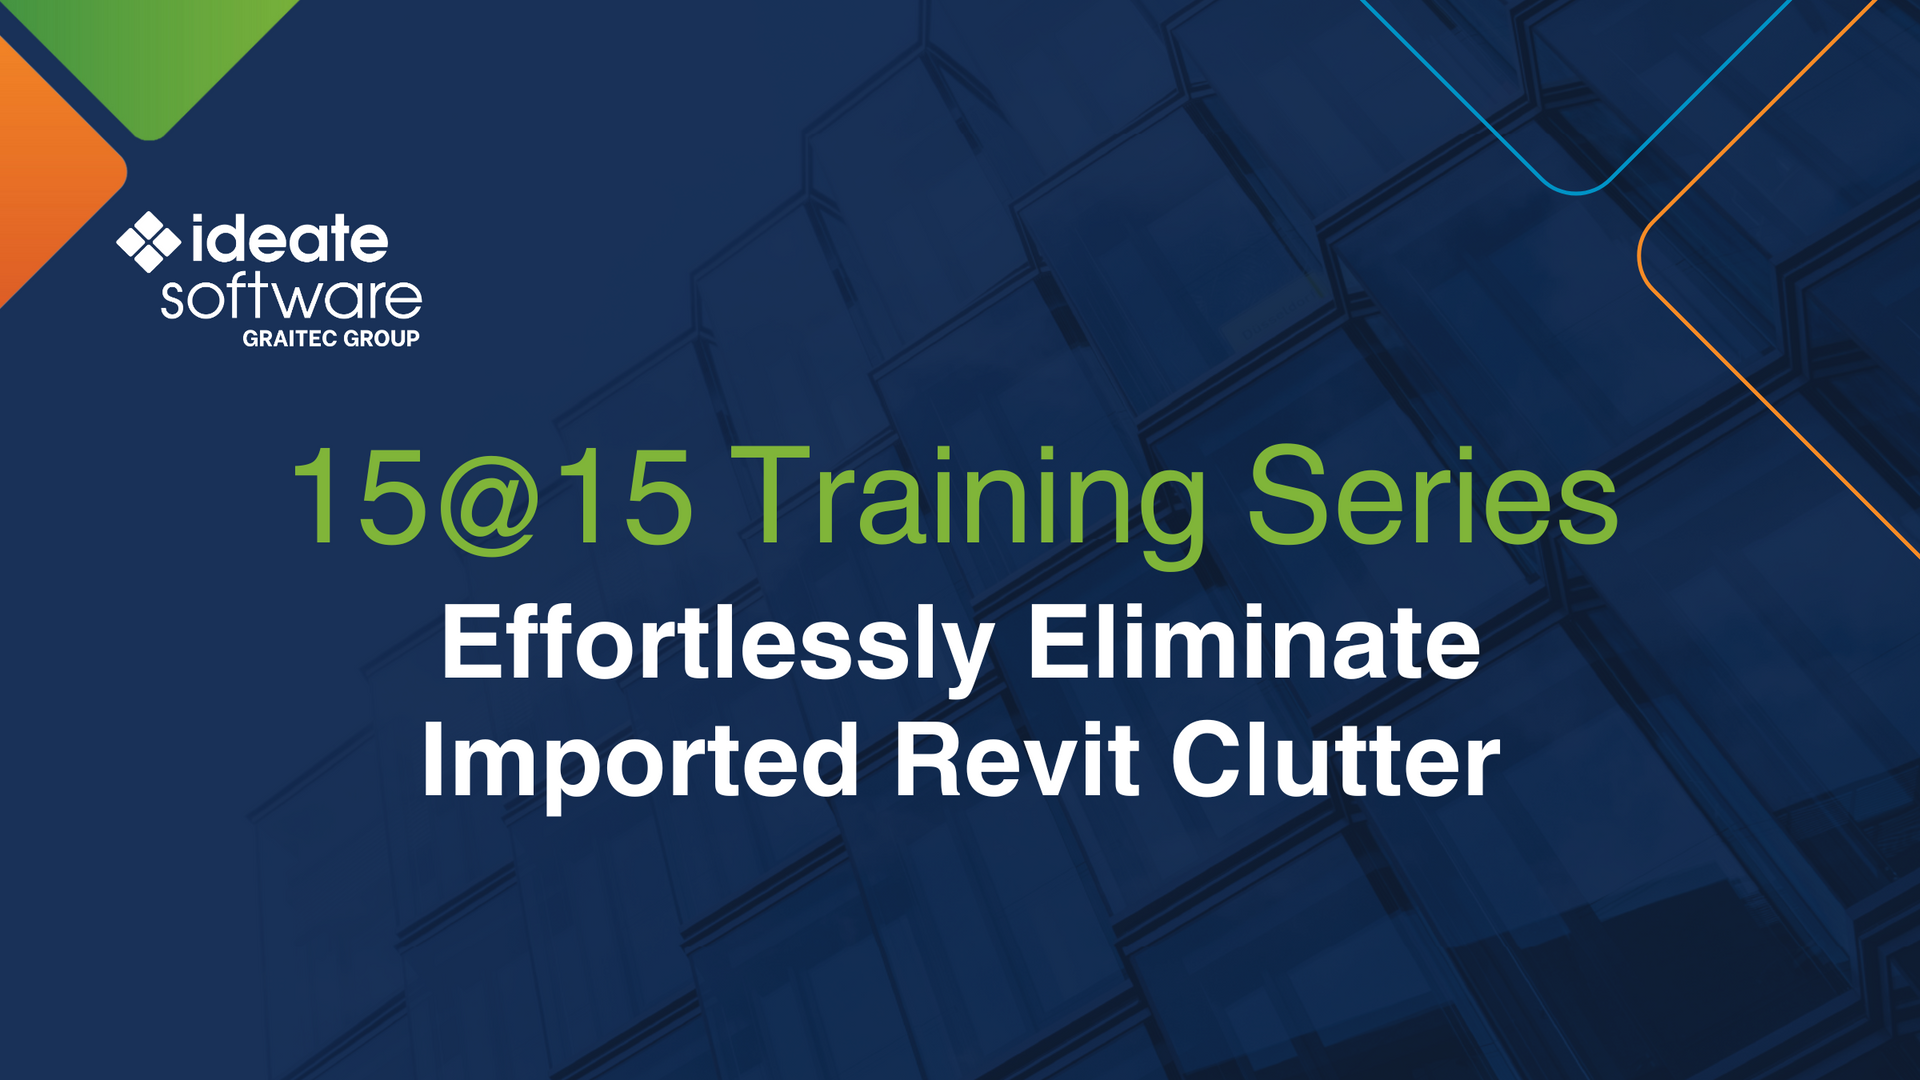
TRAINING - VIDEO | Simplify Revit object style management with Ideate StyleManager. Easily analyze, rename, merge, and remove imported styles from CAD links and exploded files.
Keep your projects clean and organized with Ideate StyleManager.
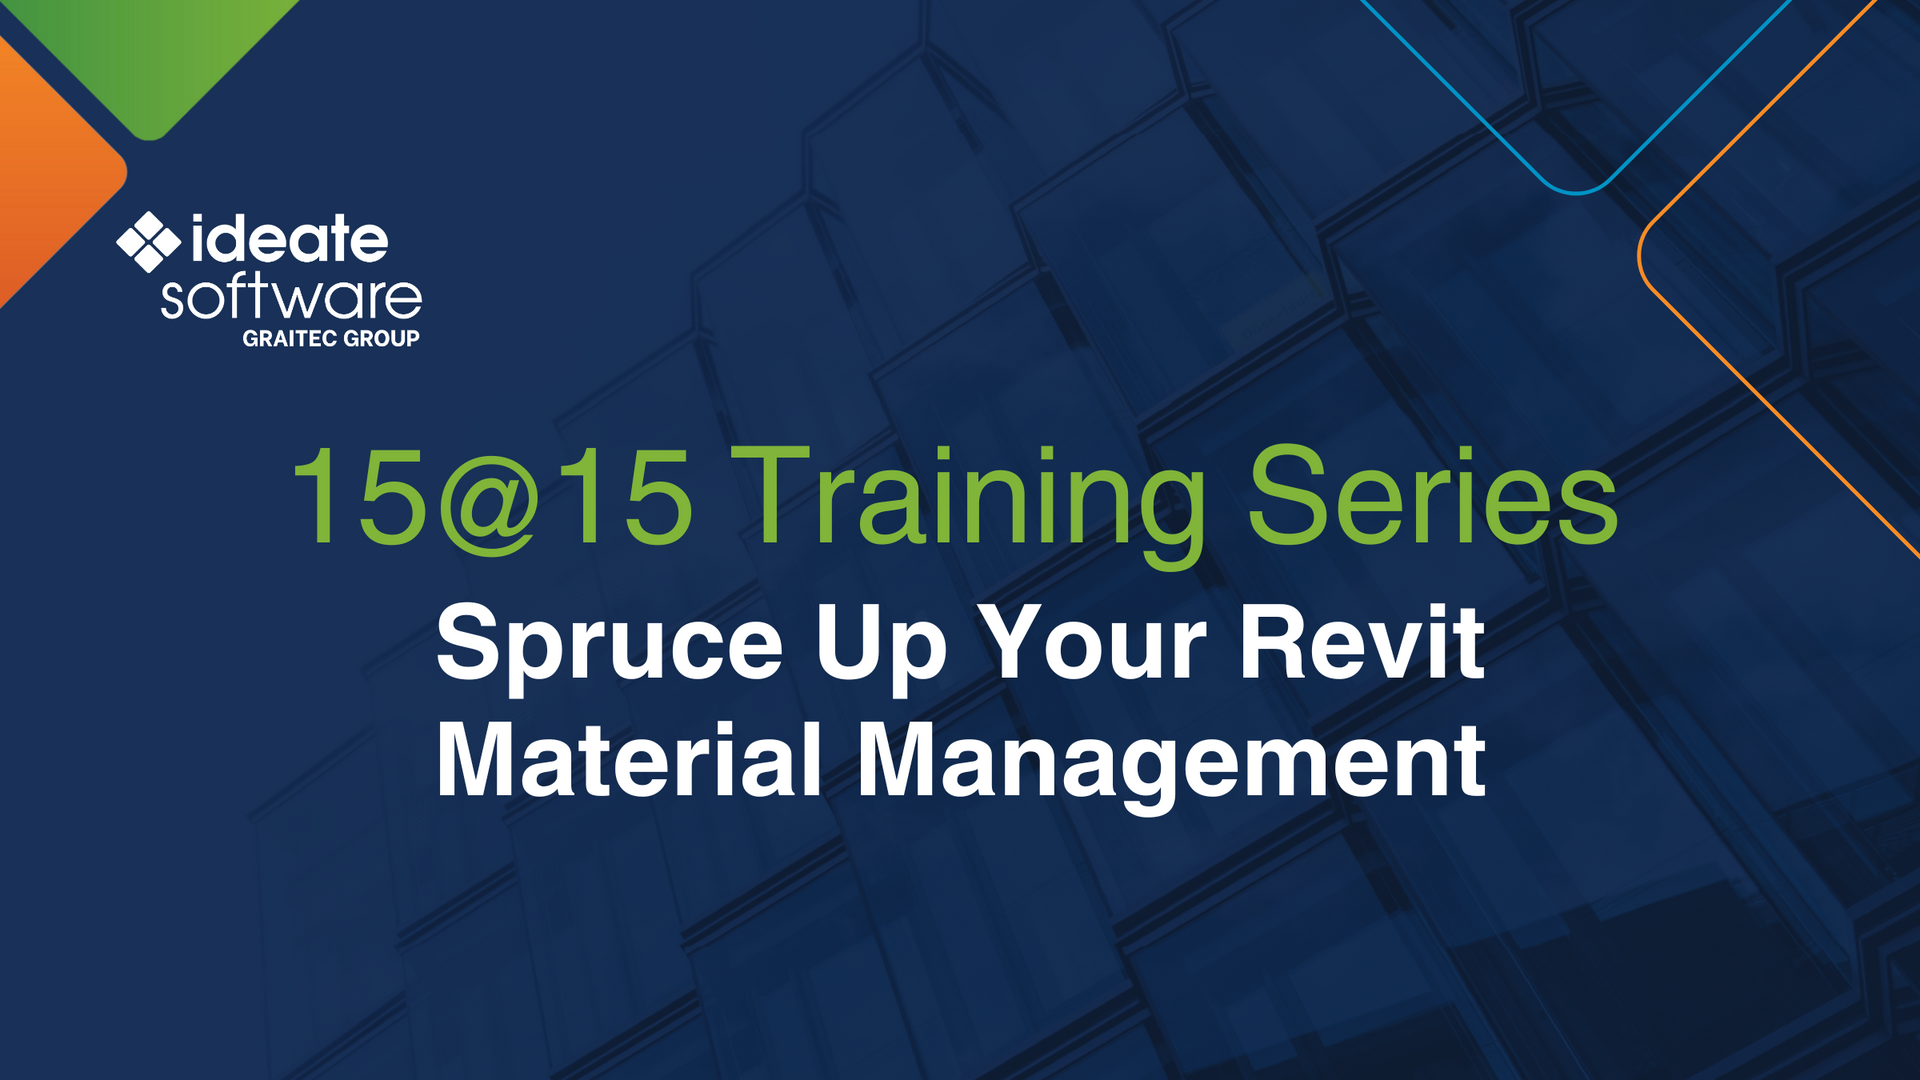
TRAINING - VIDEO | Struggling with messy Revit materials? Clean up and optimize your material and appearance assets with Ideate StyleManager. Learn how to analyze, rename, merge, and remove unused elements to keep your projects running smoothly.

TRAINING - NEWS | Leveling up your BIM game with Ideate Software doesn’t have to hard or time-consuming with our 15@15 Training Series. This series of 15-minute online sessions cuts right to the chase with essential information to enhance your skills, unlock new efficiencies and elevate your ability to automate tedious tasks —all while reducing errors in your Revit model.

TRAINING - VIDEO | Is your Revit title block a mess? Inconsistent styles can slow you down, but Ideate StyleManager can help. Discover how to clean up and streamline your title block for a more efficient workflow.

CLIENT TESTIMONIAL - ARTICLE | When the Germany-based architecture firm pbr set out to reinvigorate its ongoing commitment to enhancing precision and efficiency, they turned to Ideate Software to help them automate repetitive, simple tasks and empower their entire team, from junior designers to senior architects, with tools that support productivity and reduce errors.

TRAINING - VIDEO | Are you ready to transform the way you manage your Revit projects? Poorly managed models can lead to slow performance, sync issues, and even crashes—but you can avoid these headaches with the right approach.

BLOG - ARTICLE | Outside of work, we all have activities that bring us joy—whether it’s hiking, fishing, traveling, or simply spending quality time with loved ones. Maintaining a healthy work-life balance means making time for what matters most, and for some, that includes giving back to their communities. Earlier this month, our Social Media and Marketing Specialist, Aleksandra “Ola” Golda, donated her time to a cause related to senior citizens: chronic loneliness. While loneliness can affect anyone, it is especially prevalent among the elderly, making efforts like hers even more impactful.
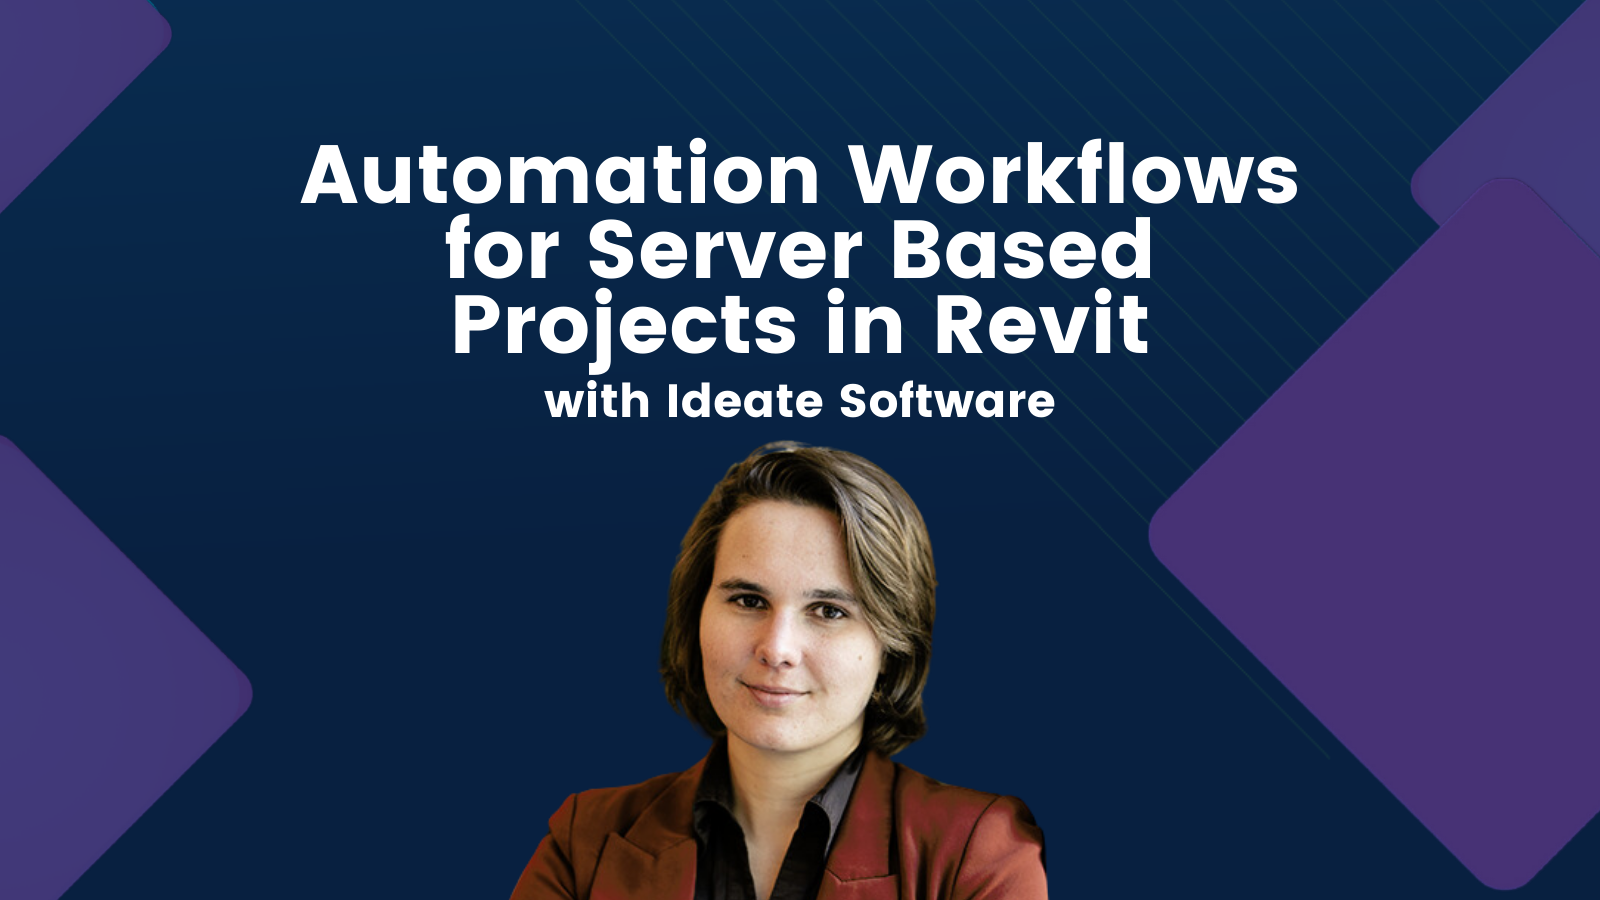
Are you managing server-based projects or government contracts that can't rely on cloud solutions? Watch this webinar recording, as Olivia Morgan gives an insightful webinar on Automation Workflows and discover how to keep your projects efficient, compliant, and stress-free. Key Topics: - Model Metric Tracking for contract verification - Automated Model Checks for compliance - Workflow Automation for backups, exports & printing Start saving time with Ideate Automation today.

TRAINING - VIDEO | Struggling with sluggish Revit models? Watch Olivia Morgan as she shares expert tips on model maintenance using Revit and Ideate Software tools. Learn how to boost model performance with industry best practices, maintain optimal element thresholds with clear guidelines, streamline workflows using Ideate Software add-ins, and keep your models healthy with a detailed BIM maintenance checklist.

VIDEO - TRAINING | https://youtu.be/SAbwNTrLnYw
Explore how Ideate Software’s powerful Revit plugins streamline data management, improve model health, and enhance documentation workflows. In this webinar, we also highlight how Strucsoft tools complement Ideate solutions to boost efficiency for framing and construction projects.
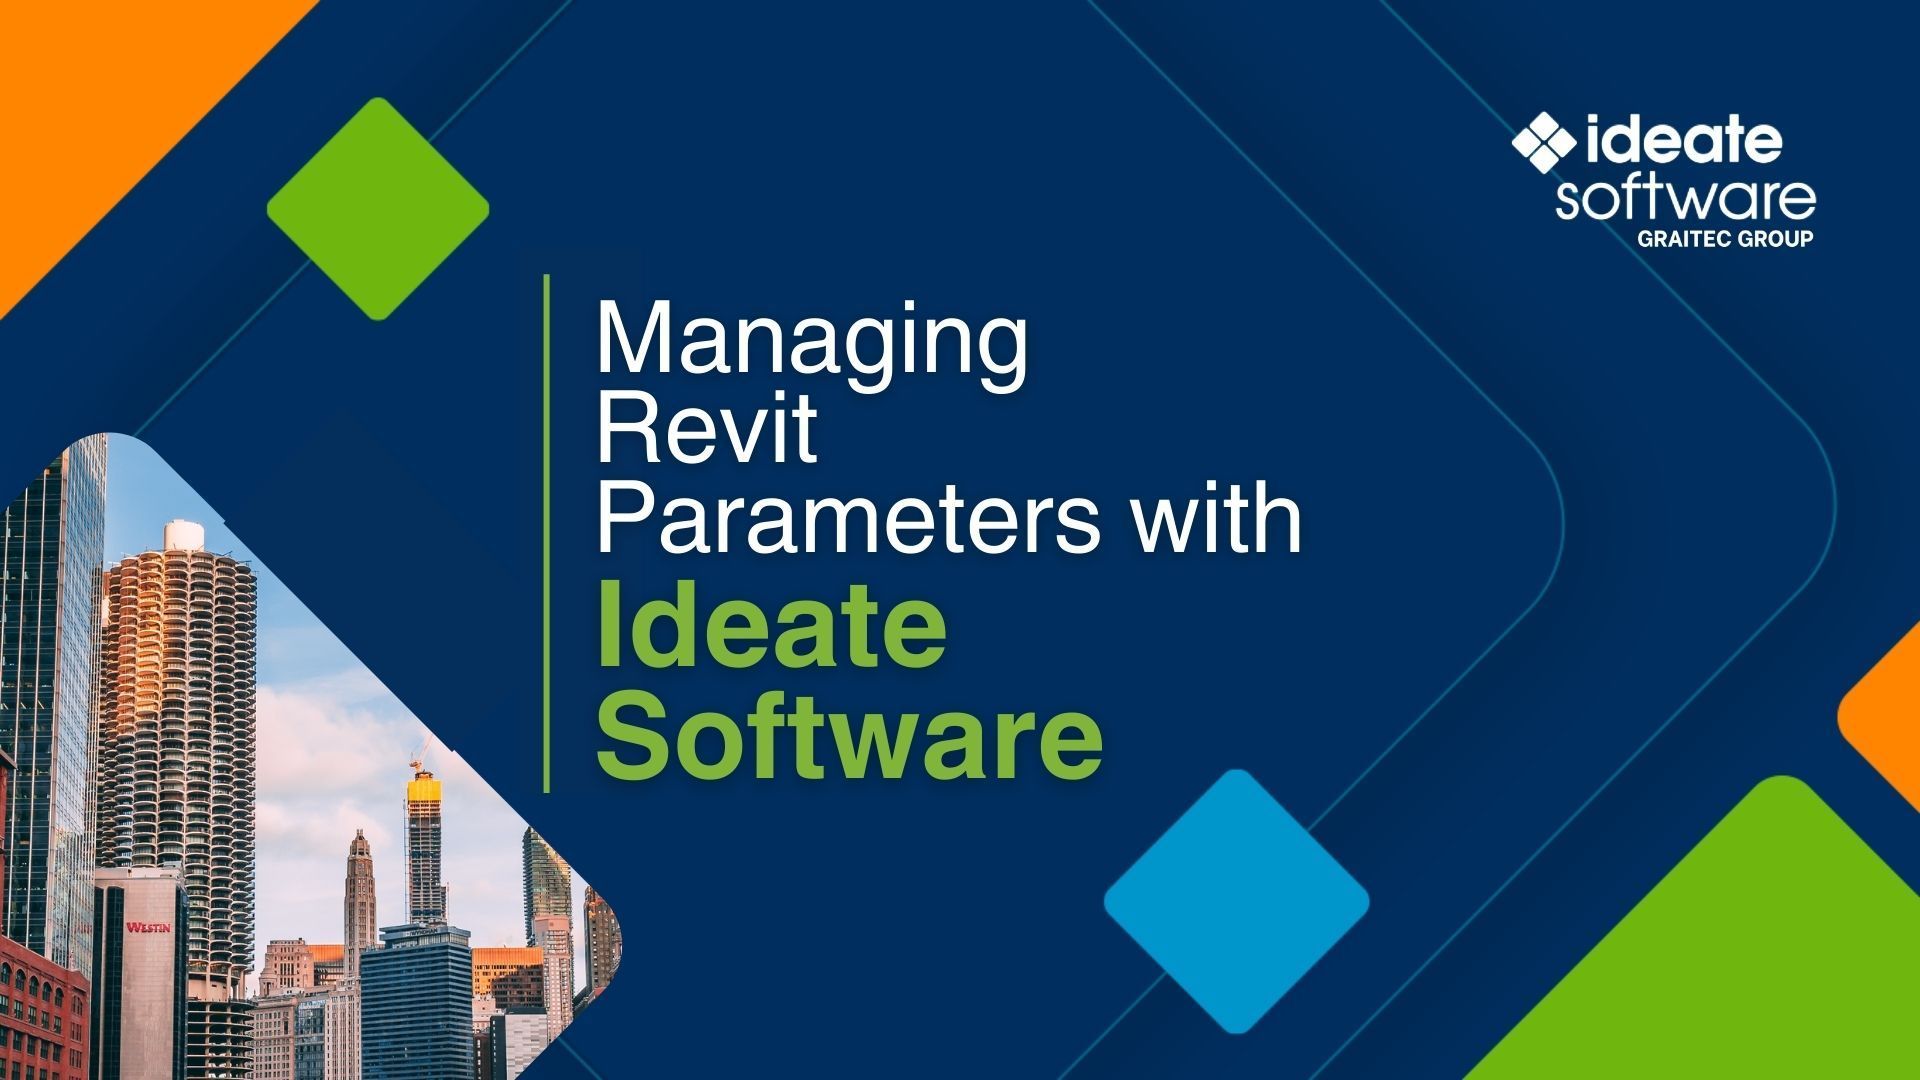
TRAINING - VIDEO | With Ideate Software, creating and managing parameters in Revit becomes a streamlined and efficient process. Our Revit add-ins allow users to easily define, organize, and control project parameters. Extract parameter data across Revit linked models allowing you to create new parameters which ensures consistency.

TRAINING - VIDEO | Watch this webinar recording to discover how Ideate Software solutions can streamline QA/QC workflows in Revit. Learn how to enhance productivity and precision with powerful Revit add-ins designed for efficiency. If you're a BIM professional, this session is perfect for discovering how to optimize your workflows and elevate your BIM strategies.

VIDEO - TRAINING | In this 15@15 recording you will discover how to tackle common 2D annotation issues like text, tags, dimensions, and more with ease with Ideate Annotate. Visualize, manage, and review these elements to maintain documentation quality and integrity.

NEWS - ARTICLE | 2024 was an amazing year of unprecedented growth and positive change for Ideate Software.
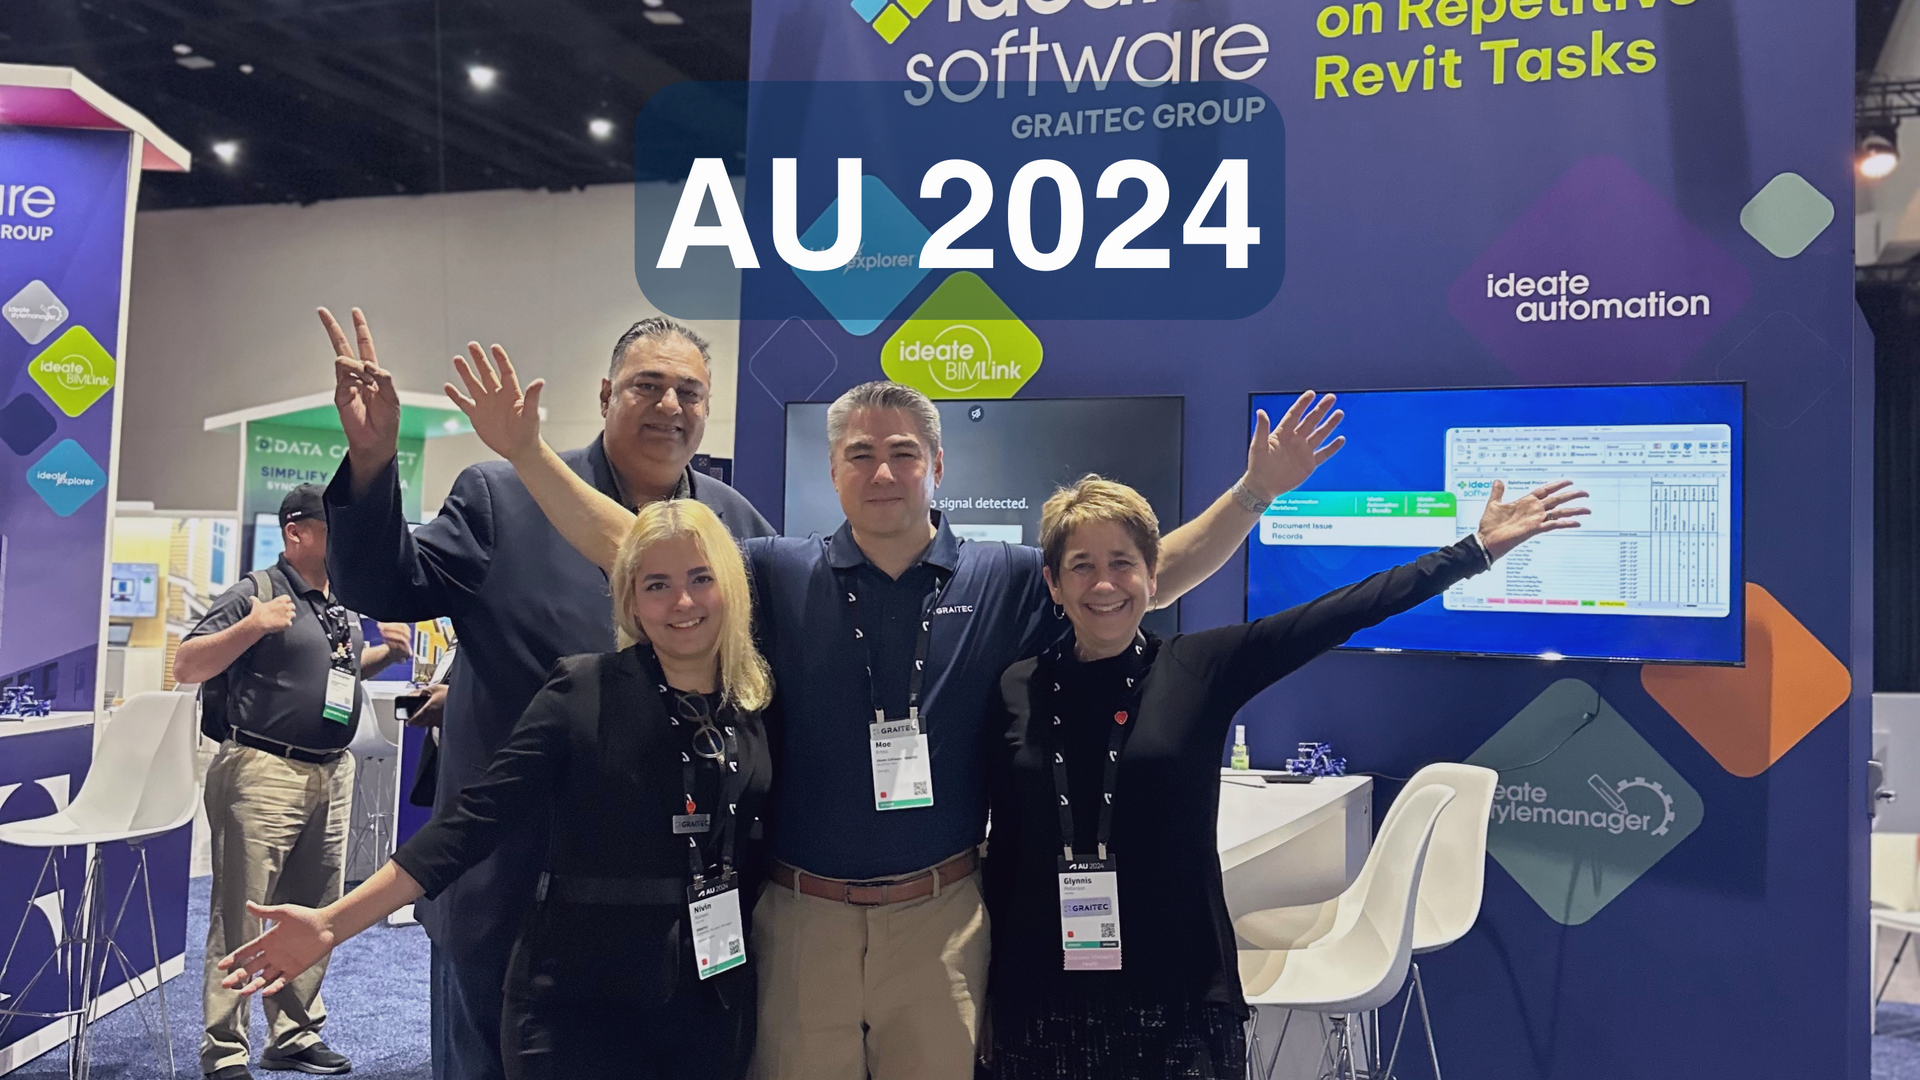
NEWS - ARTICLE | Ideate Software and Graitec Group joined forces in San Diego, October 15 -17, 2024, as Diamond Sponsors at Autodesk University (AU).

NEWS - VIDEO | Discover powerful Revit tools for the Architecture, Engineering, and Construction industries with Ideate Software. Save time, reduce errors, and optimize workflows. Learn more and explore bundle options today!
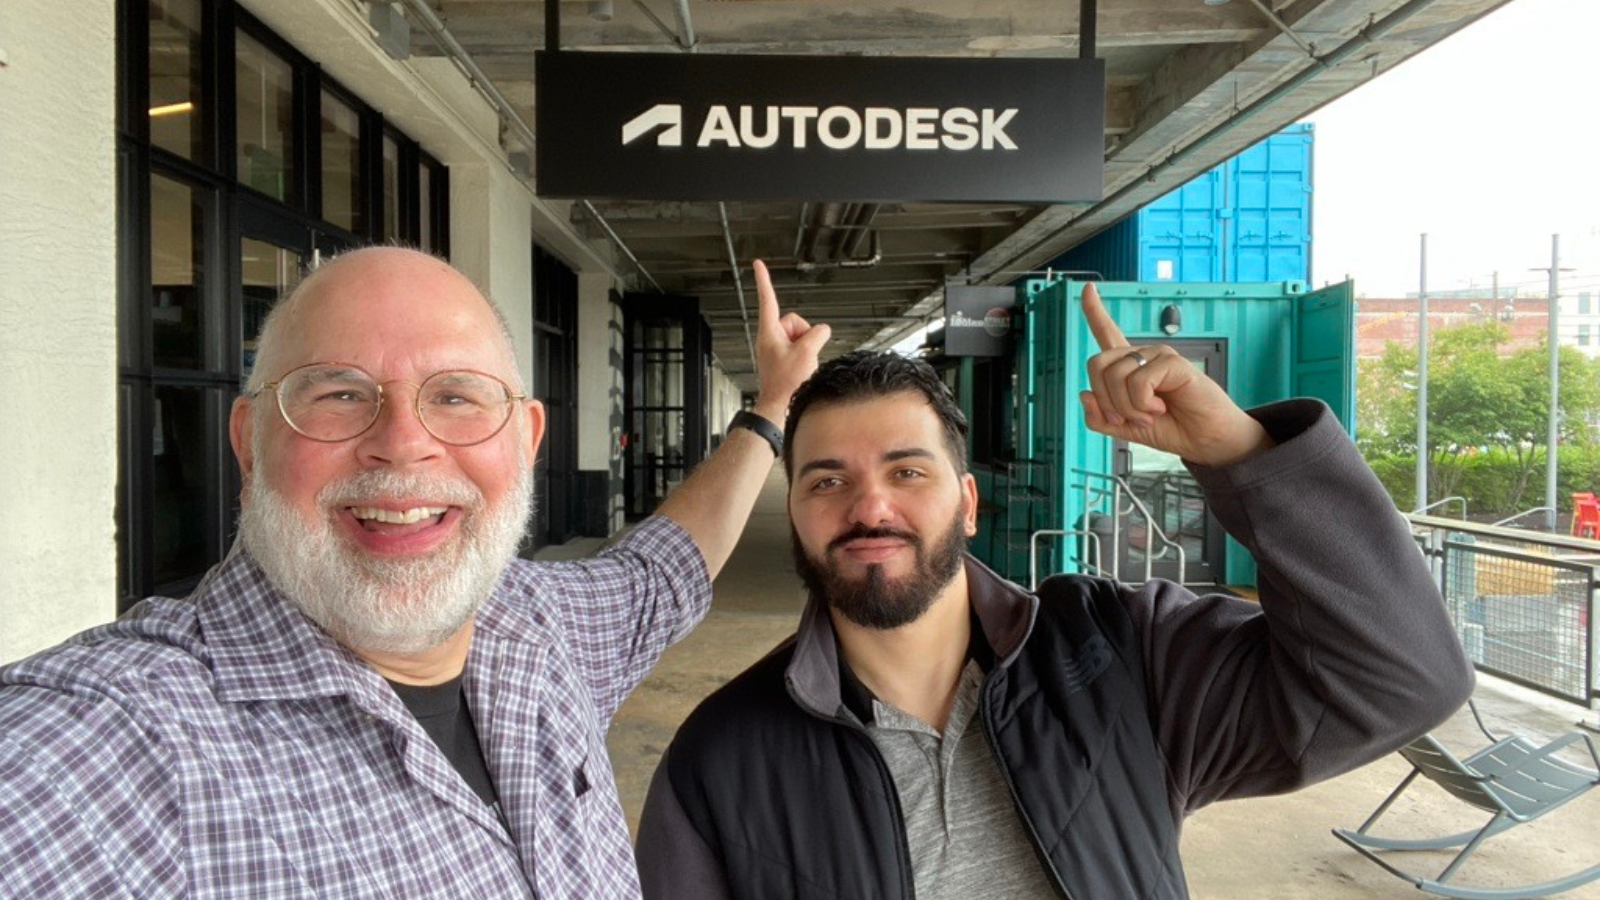
NEWS - ARTICLE | Richard Taylor and Rami Benchaita hit the road in Boston to show clients timesaving tips with Ideate Software.
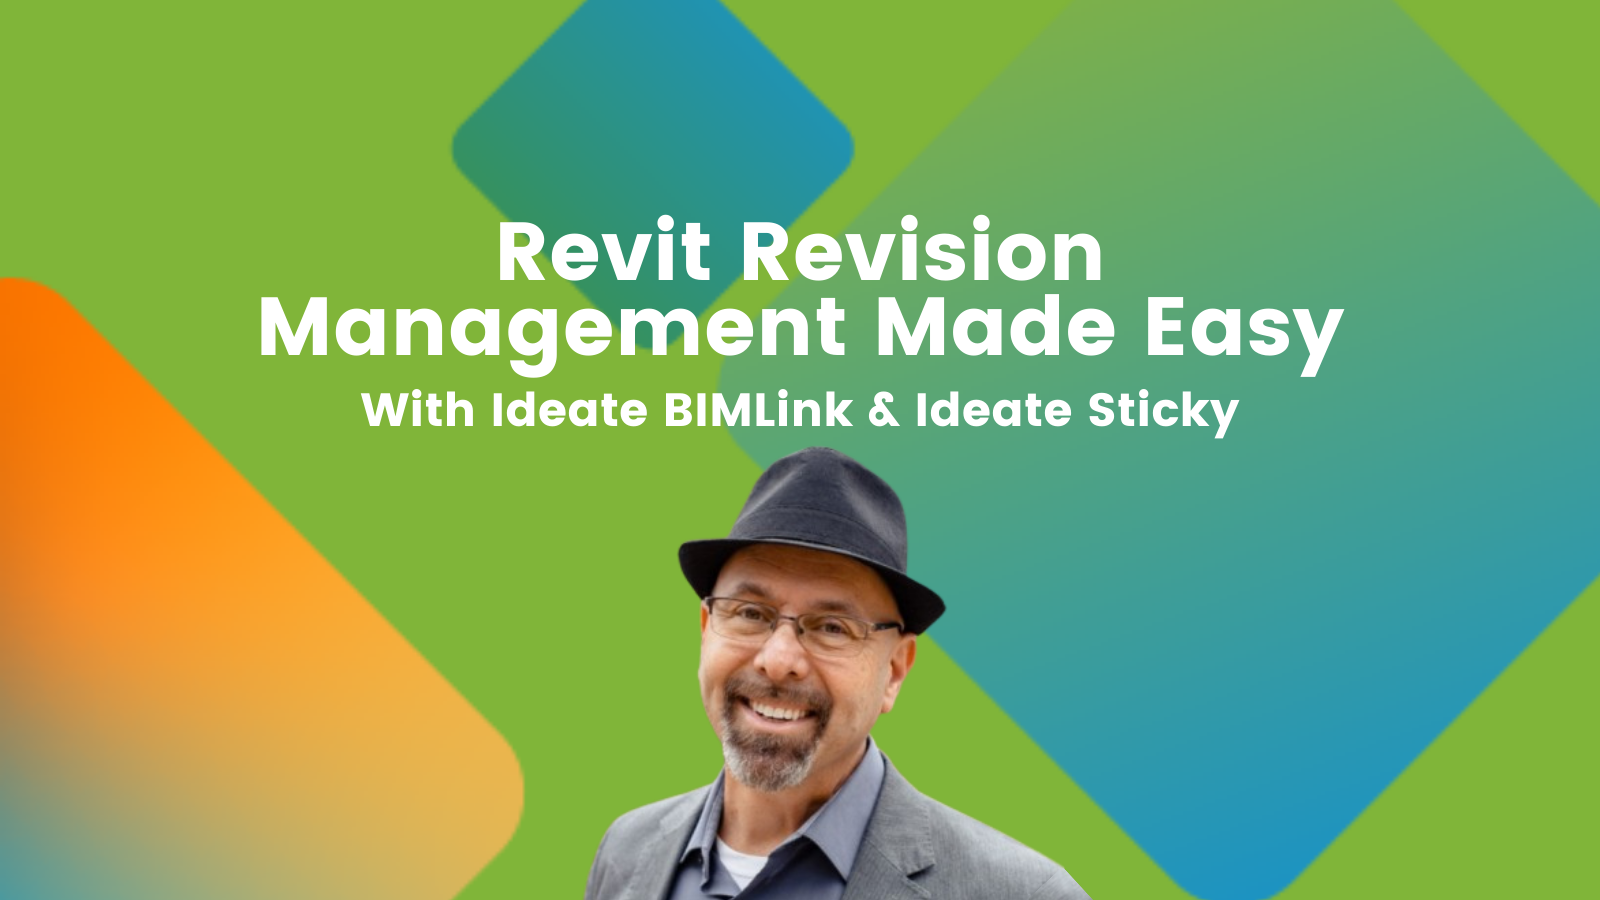
TRAINING - VIDEO | Streamline your workflow with Ideate BIMLink for revision data extraction, Ideate Sticky for seamless linking, and a custom Excel macro. Start simplifying hours of work into minutes.
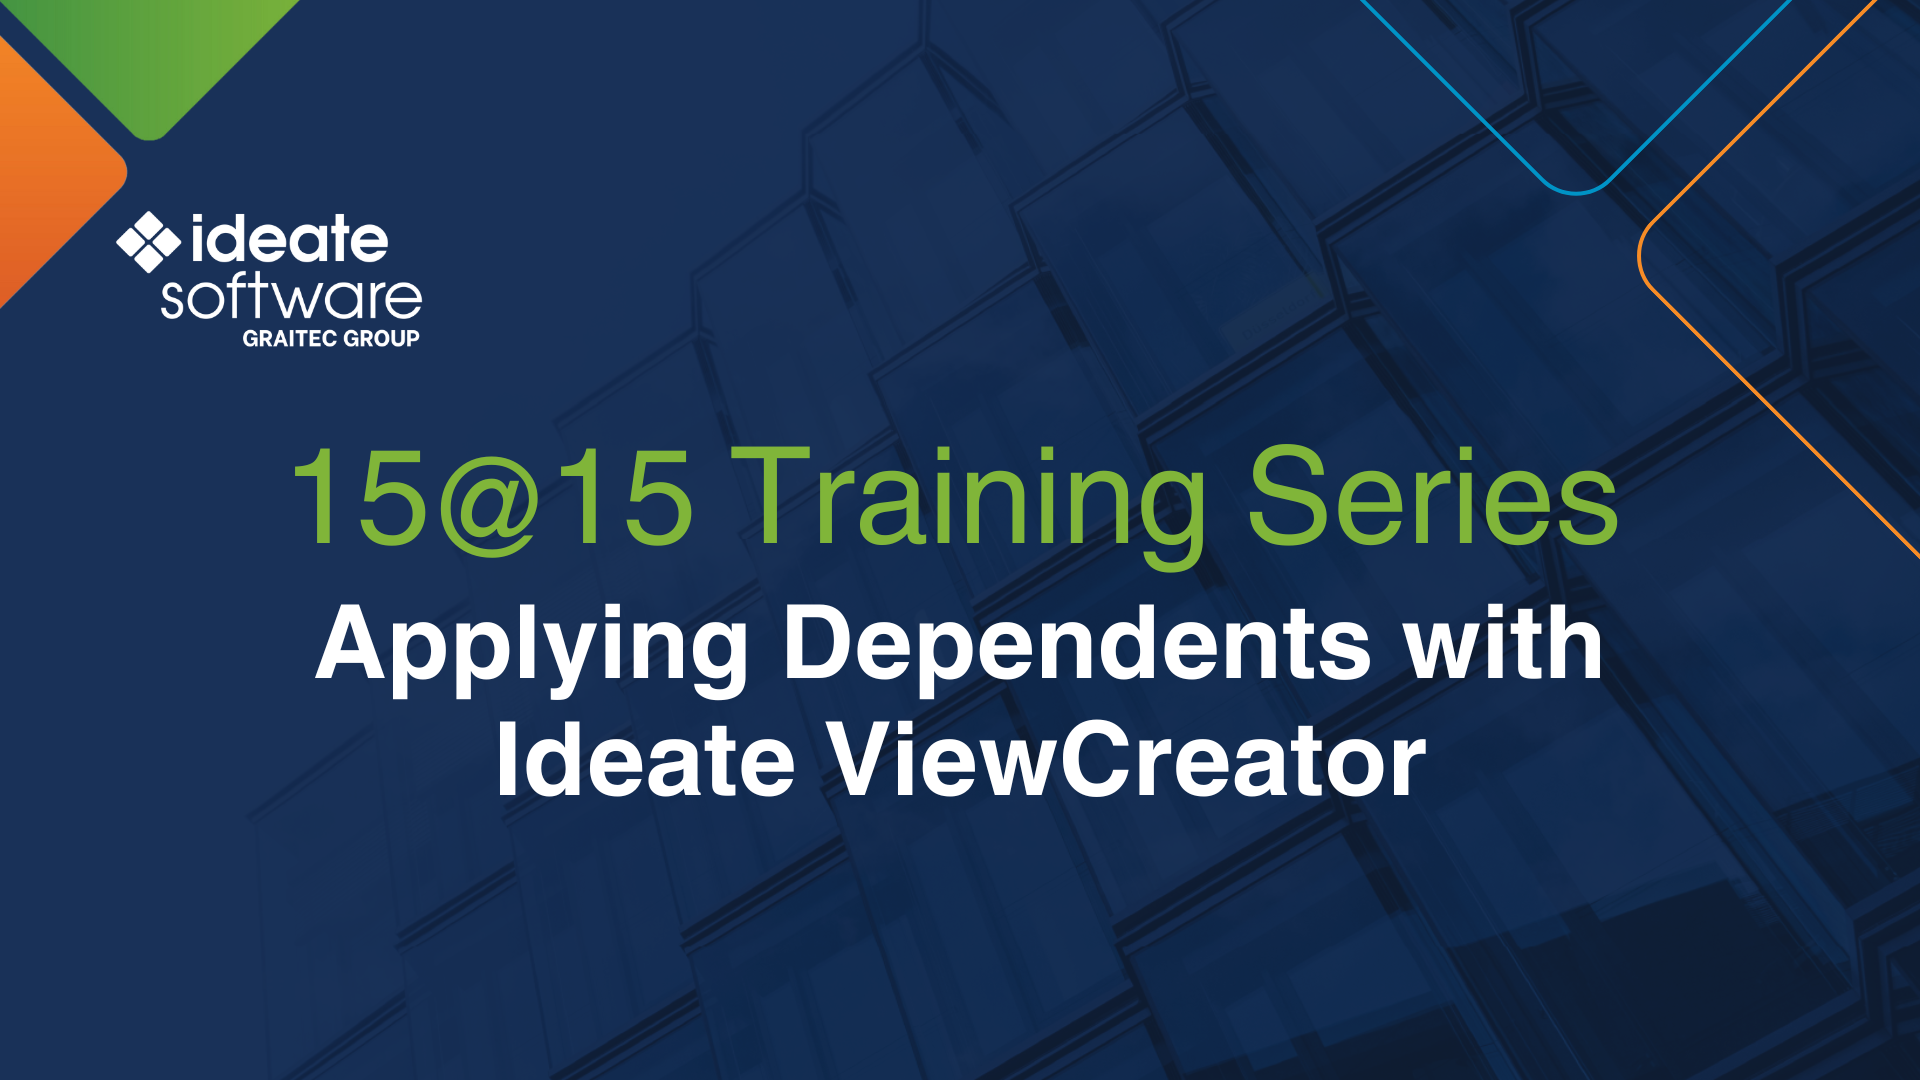
TRAINING - VIDEO | Streamline view management in Revit with Ideate ViewCreator’s Apply Dependents method! Effortlessly transfer naming, scope, crop box, and grid settings from dependent views to new parent views for consistent, precise workflows. Start simplifying your projects today.
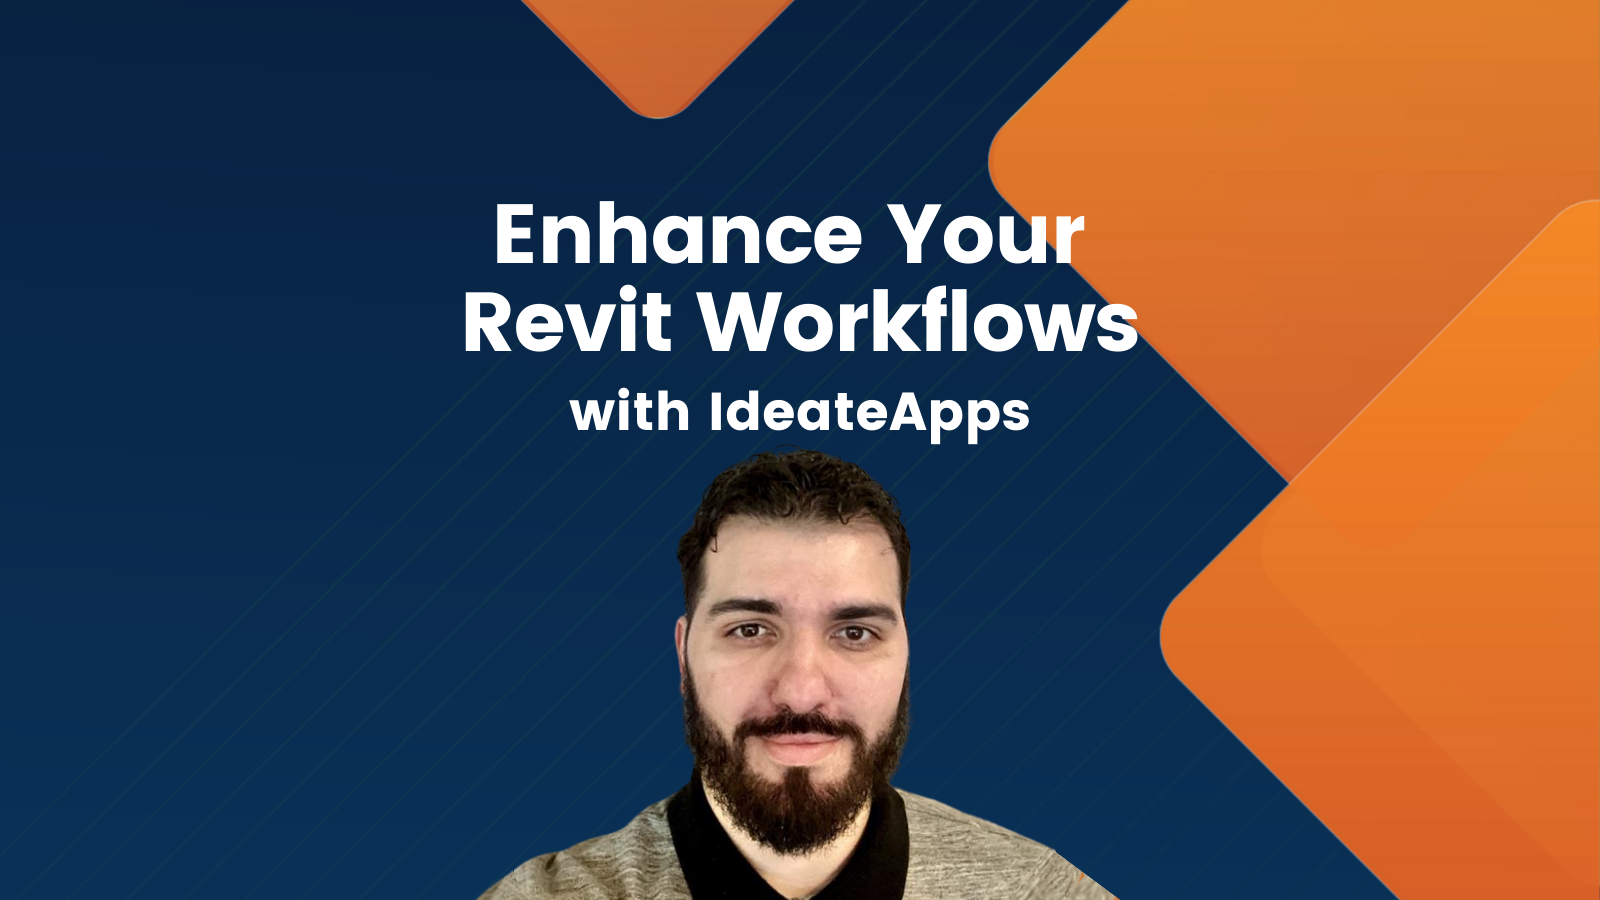
VIDEO - TRAINING | Boost your Revit productivity with IdeaEnteApps! Join us to explore Ideate ReNumber, SmartDelete, XRay, and QuickSelect—powerful tools for seamless renumbering, visibility diagnostics, and project navigation.