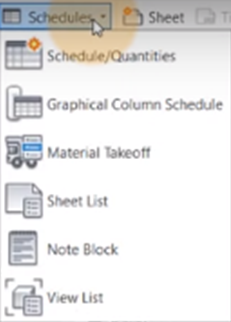
- Schedule/Quantities – Using Revit schedules can save time validating model data. In Revit, simply select the Category, such as Doors, Curtain Panels, or Duct Accessories, and then select the parameters, such as Type, Height, and Width. Revit will pull all the data into a single Schedule that you can easily view.
- Graphical Column Schedule – This schedule graphically shows you all the columns in the model as well as related information such as connection, size, and material. To create the schedule, open the Schedules menu on the View tab and select the Graphical Column Schedule tool. Modify the schedules attributes by using the Properties palette.
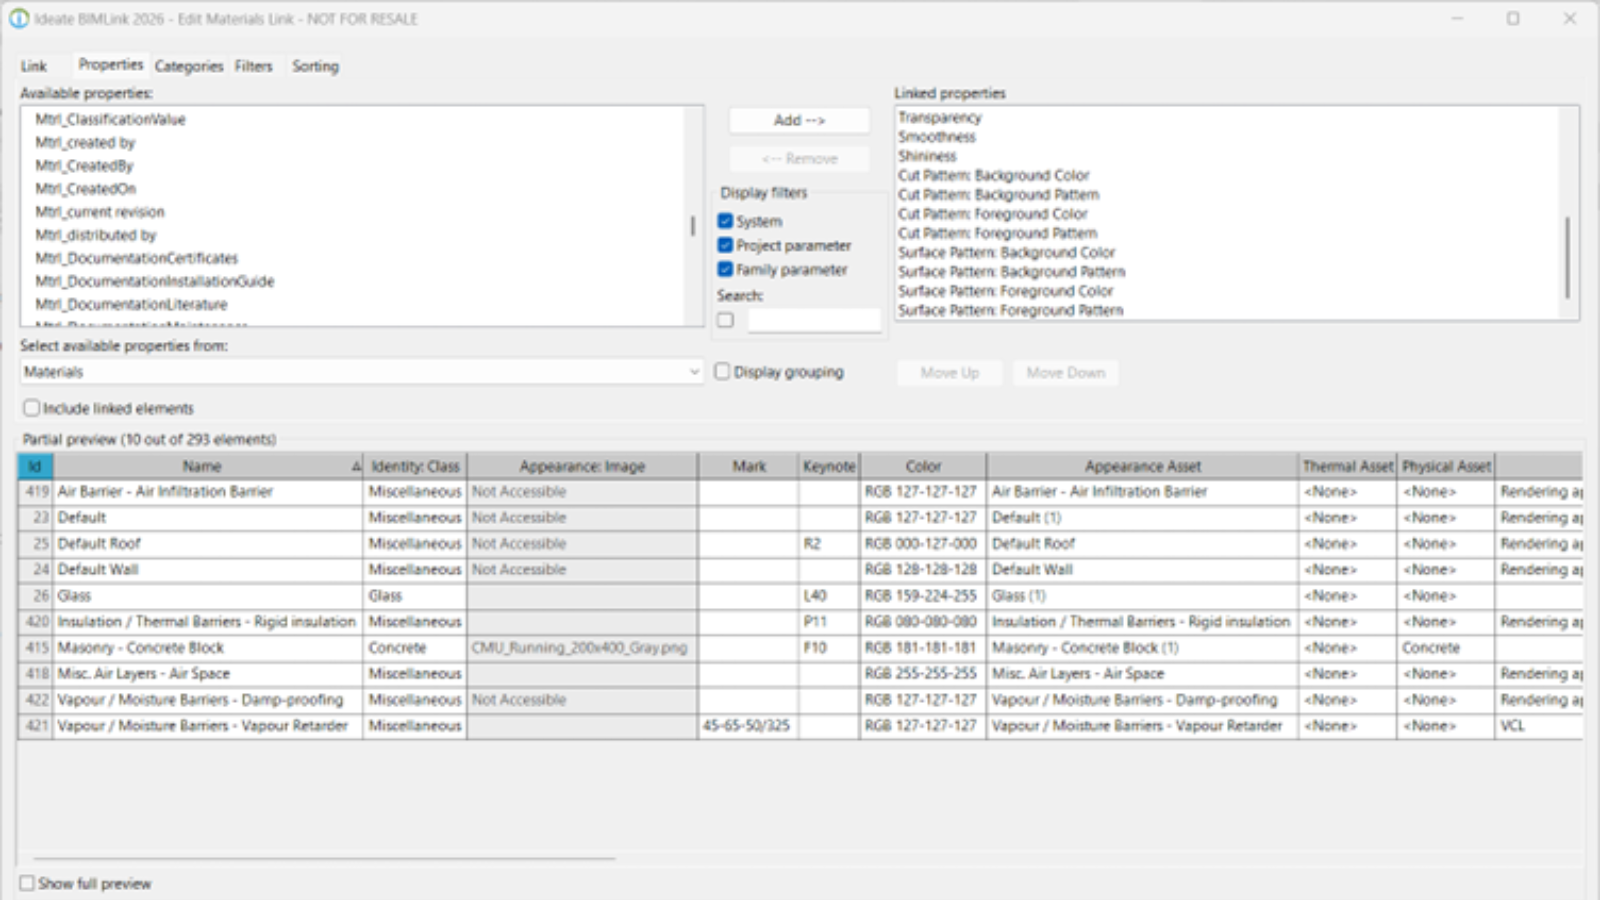
- Material Takeoff – These schedules are used to calculate the quantities of material. They have the functionality and characteristics of other schedule views, and they can show more detail about the assembly of a component. For example, if creating a material takeoff schedule for walls, in addition to picking out wall parameters to include, you can also select material parameters, such as paint, area, and manufacturer.
- Sheet List – This schedule pulls in all the sheets in a model along with all the fields in those sheets, such as Designed by, Approved By, Assembly: Manufacturer, Count, Sheet Name, and Sheet Issue Date. Simply select the fields you want in the schedule to get a quick view of all the information.
- Note Block – Notes on a Revit model can be difficult to see. This is not a problem with the Note Block schedule, which pulls note numbers and text into a single document.
- View List – A view list displays all the views in a Revit project, such as plans, sections, elevations, drafting views, and 3D views, in one place. It is sortable, making it easy to keep track of what’s going on in your model and how many views are there. The data is easily sortable, so users can quickly review the specific information they need to check.
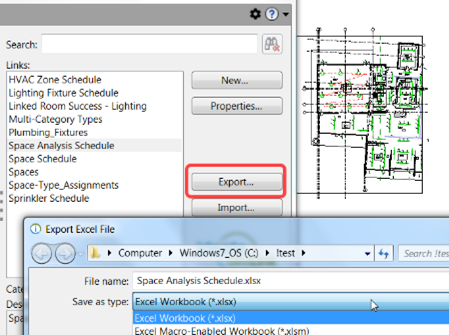
Export Revit Schedule to an Existing Excel File
Revit Schedules look similar to spreadsheets made up of columns and rows with cells containing data related to the Revit elements. They are usually created when there is a need to quantify various elements in a Revit model.
There are six types of schedules in Revit:
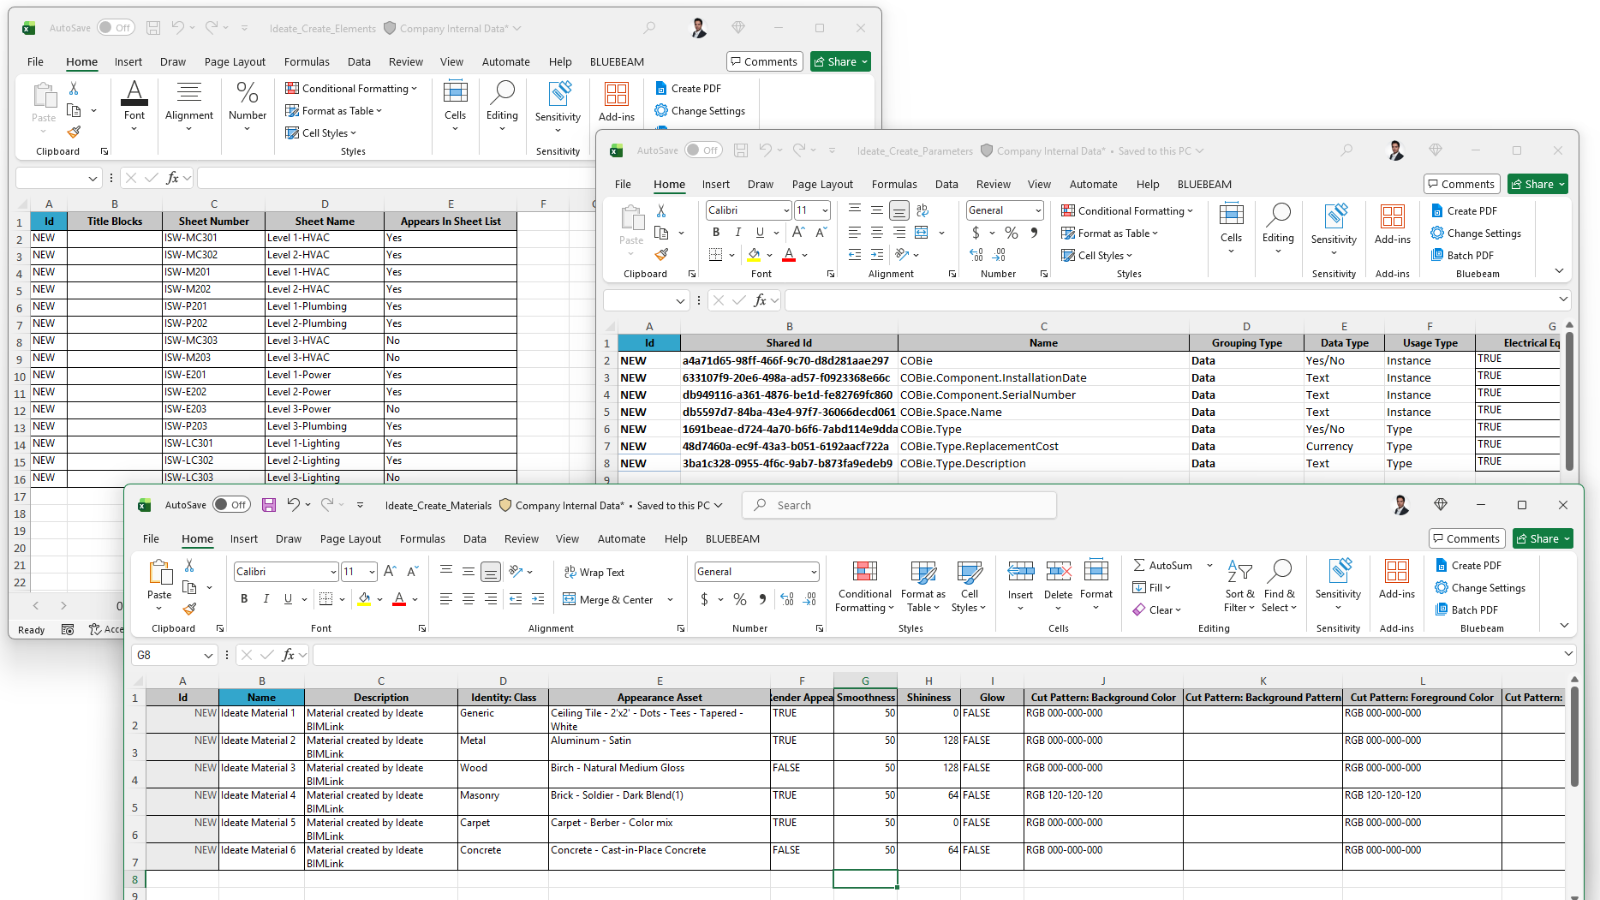
Exporting Data to Excel with Ideate BIMLink
Revit schedules are a great way to pull all the information you need to see into one document, however they don’t allow you to manipulate that data. Manipulation is needed in both large and small projects because things change. Whether it’s the manufacturer of door hardware, the sizes of windows, the number of stalls in a bathroom, or any of hundreds of other changes possible, you know that data will need to be updated several times during a project.
Within Revit, these updates need to be done one at a time, which can take hours or even days to do, check to make sure everything was done correctly, and then re-do any that were missed or done incorrectly. That’s where Ideate BIMLink comes in.
How-To Videos
Want to see how easy it is to use Ideate BIMLink? We have many resources available on our website, including Help files, recorded webinars, and blog posts. You can access all our Ideate BIMLink videos from our Video Library. We have also categorized the videos into different playlists to make it easier for people to find the right videos:
- What's New in Ideate Software – Learn about the latest features and fixes within Ideate Software updates.
- Model Management – Videos on this playlist highlight how Ideate BIMLink can be used to manage sheets, views, and other common concerns for project engineers and architects.
- Architects & Designers – Watch these videos to learn how to eliminate time-consuming, manual room management and door management workflows.
- Engineers & Designers – See how you can use Ideate BIMLink to easily increase the speed for data management within engineering designs.
- VDC Managers & Estimators – Learn how to access data within the model is critical; use the high-powered data queries in Ideate BIMLink to manage construction sequencing.
- Content & Family Management – Here are several demo videos that will show you how to bring clarity to your project browser, clean-up and manage your Revit Family content, rename families and types, or populate large volumes of parameter values with Ideate BIMLink.
Learn About all Ideate Software Solutions for Revit Users
Visit our website to learn more about Ideate BIMLink for Revit as well as our other Revit data management tools. When you’re ready to take the next step, contact us at sales@ideatesoftware.com, get 30-day trial versions, or choose the subscription option that best meets your needs.
Stay Connected
Check us out on Twitter, LinkedIn, Facebook, and YouTube.
If you have any questions, reach out to us. We are here to help you understand and use our add-ins for Revit.
Explore recent posts
