Transferring View Types in Revit using Ideate BIMLink
In Revit, users must tediously create new View Types one by one.
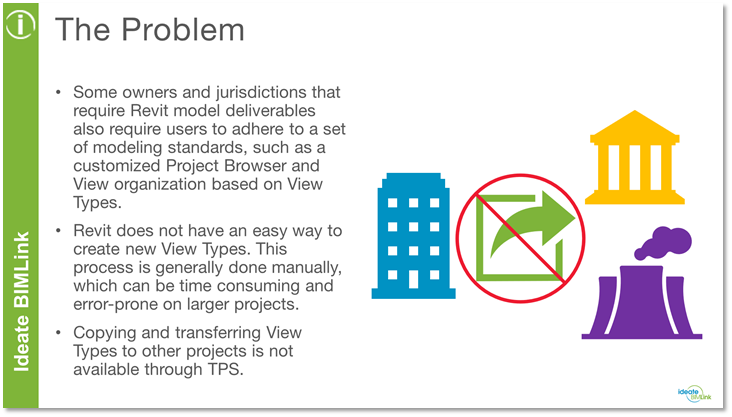
Unfortunately, Revit does not have an easy way to create new View Types. Users must tediously create new View Types one by one. To complicate matters even further, copying and transferring View Types to other projects is difficult, since this is not a feature that is available through Transfer Project Standards (TPS).
A Better Solution: Use Ideate BIMLink
Thankfully, we have Ideate BIMLink to assist us with this challenge. In an
earlier blog post, I discussed how we can easily create new View Types in Revit from an Excel list via Ideate BIMLink. In this post, we’ll take this idea one step further and review how to use that same process as a way of addressing the need to transfer View Types from one project to another.

Using Ideate BIMLink to export existing View Type information and to create NEW View Types in other models (or your template) will help bring project standards into alignment and save users many hours and the hassles that come along with doing things manually in Revit.
Standardize View Types in Model #1
Begin by ensuring you have a model with your ideal view types in-place.
- Review my earlier blog titled Creating new View Types in Revit using Ideate BIMLink for instructions on creating new View Types in your current Revit model.
- Once you have successfully created new View Types, export the View_Types-Create_New link if you have made any changes to it, such as adding, removing, or re-arranging any of the column data. This link will be used in the other Revit models that require the same View Types.
Prep Model #2
- In the Revit models that are to use the same View Types as your Project or Template files, launch Ideate BIMLink and load the exported link. This will ensure that the data columns are the same, both in naming, parameter usage, and same order of data.
- OPTIONAL: If your projects require that you use the same View Template, Elevation, and Section Tag naming and standards, ensure all projects are using the same names and settings first. If they are not, you will need to use Transfer Project Standards to copy that data into your Revit models. For this example, we used TPS to copy in Elevation Tag Types, Section Tag Types, View Reference Types, and View Templates. When you generate the new View Types, you can either ignore the View Template assignment, Callout Tag, Section Tag, and Elevation Tag assignments or use your own from the project that you are creating the new View Types in.
Create Data Exports from both Models
- Launch Ideate BIMLink and export the View Type information from the View_Types-Create_New link. When prompted to either open the file or done, select done.
- Switch over to the Revit file that you will copy the View Type information from. Launch Ideate BIMLink.
- If the link is called View_Types-Create_New, either rename this link or duplicate the link and call is View_Types-Export. This will allow you to export this data into the same Excel file export from the previously mentioned file, without overwriting the entire worksheet.
- When prompted to either Open File or Done, Open File.
- You should now see two worksheets. One from the model with the View Types you want to copy over and one from the model that you want to copy the data into.
Transfer View Type Data Between both Models
- In the worksheet that has the View Types you want to copy over, copy to clipboard the data you need. At a minimum, you want the Family Name and Type Name. If you plan on using the same View Templates and tags, copy this data as well.
- In the worksheet from the model that this data will be copied into, paste this information so it aligns with the correct columns.
- Remove any duplicate rows of data, such as Type Names. This way you avoid any errors or duplication of information upon import.
- Edit any existing data that needs to be edited.
- Under the Element ID column, be sure to type in the word NEW. This will instruct Ideate BIMLink to generate the NEW View Types.
- Once the Excel file is completed, save your work.
- In Ideate BIMLink, select the IMPORT button and browse for the recently completed Excel file.
- Review the results in Ideate BIMLink. Check for items that have been edited, created as new, and any errors and warnings you may receive. Export any errors and warnings to Excel for review.
- Once complete, review the results in Revit. Verify that the View Types have been created and that settings, such as View Template assignments, have also been applied.
** Note: if you do not see the link called View_Types-Create_New, you can start with the link called Project_Stds-View_Types and modify the link to match the one seen in the corresponding video. You can also reach out to support@ideatesoftware.com to request a copy of this link.
To learn more about this process, watch this video:
Explore recent posts


