Explore the Library
RESOURCE LIBRARY PRODUCT
IdeateApps
Ideate Align
Ensure coherent deliverables that are easy for clients and stakeholders to understand by aligning all plan views across sheets.
WISHLIST GRANTED - ARTICLE | One of the top Revit Ideas is to have more control on the placement of Revit Views on Sheets. It has 897 votes and counting!

HELP FILES - ARTICLE | For step-by-step instructions to Ideate Align, check out our extensive help files.

TRAINING - VIDEO | Align views like a pro with the latest update to Ideate Align! Now you can position views and titles on sheets using data from linked Revit files—no more guesswork. Perfect for consultants, core & shell teams, and anyone working with site files.

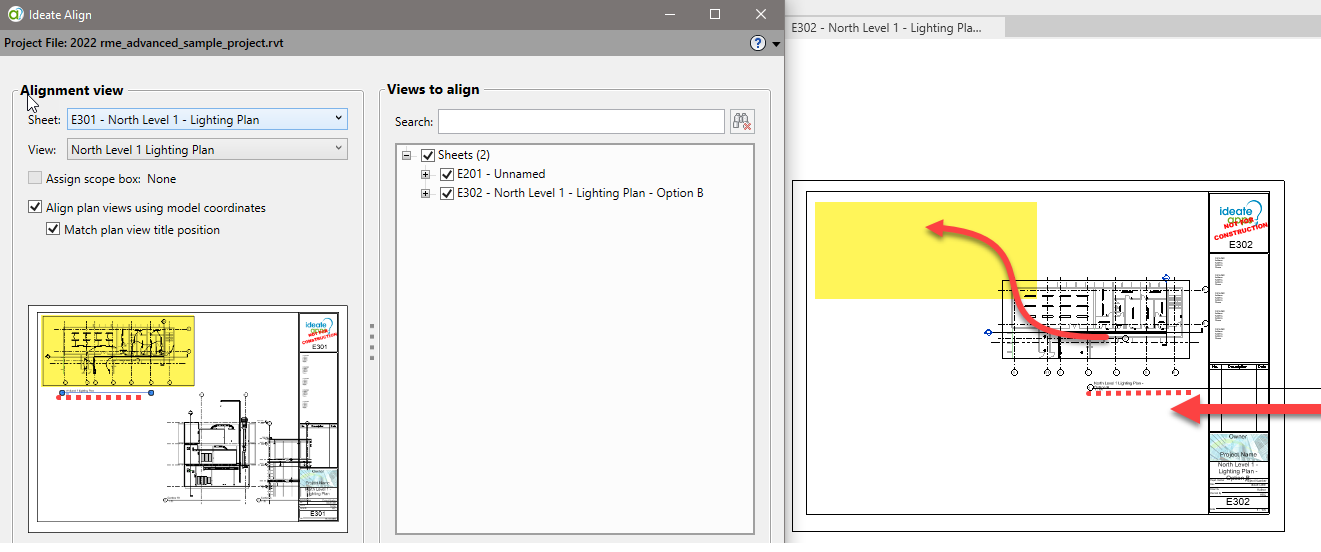
TRAINING - VIDEO | Struggling to align viewports across Revit sheets? Ideate Align, part of the Ideate Apps collection, makes it simple. Select your aligning viewport, pick additional sheets, and align viewports in seconds. Save time and streamline your workflow with this easy-to-use tool. Try it now in our Ideate Apps add-in.

SUPPORT - ARTICLE | Revolutionize your Revit workflows, save time and eliminate repetitive tasks. These top 10 features span the complete Ideate Software suite, setting you on the path to an effortlessly optimized Revit experience.
WISHLIST GRANTED - ARTICLE | One of the top Revit Ideas is to have more control on the placement of Revit Views on Sheets. It has 897 votes and counting!

TRAINING - VIDEO | Watch this recorded webinar for an overview of Sheet and View tools in IdeateApps and to learn about BIM standards for View naming and how to customize the rules.
TRAINING - VIDEO | Watch this recorded webinar to learn about IdeateApps, our collection of focus-driven tools that will decrease the time spent on common Revit tasks and increase the accuracy of BIM data in a Revit model.

TRAINING - VIDEO | Revit Sheet and View management has never been so automated, easy, and powerful as with IdeateApps. In this recorded webinar, we demonstrate how to use Ideate Software tools to manage data and views that appear on Revit sheets and duplicate sheets and viewports while keeping views aligned between sheets. We also create new sheets for unplaced views and show how to create smart naming and smart rules to automate and batch-create multiple views with just a few clicks.
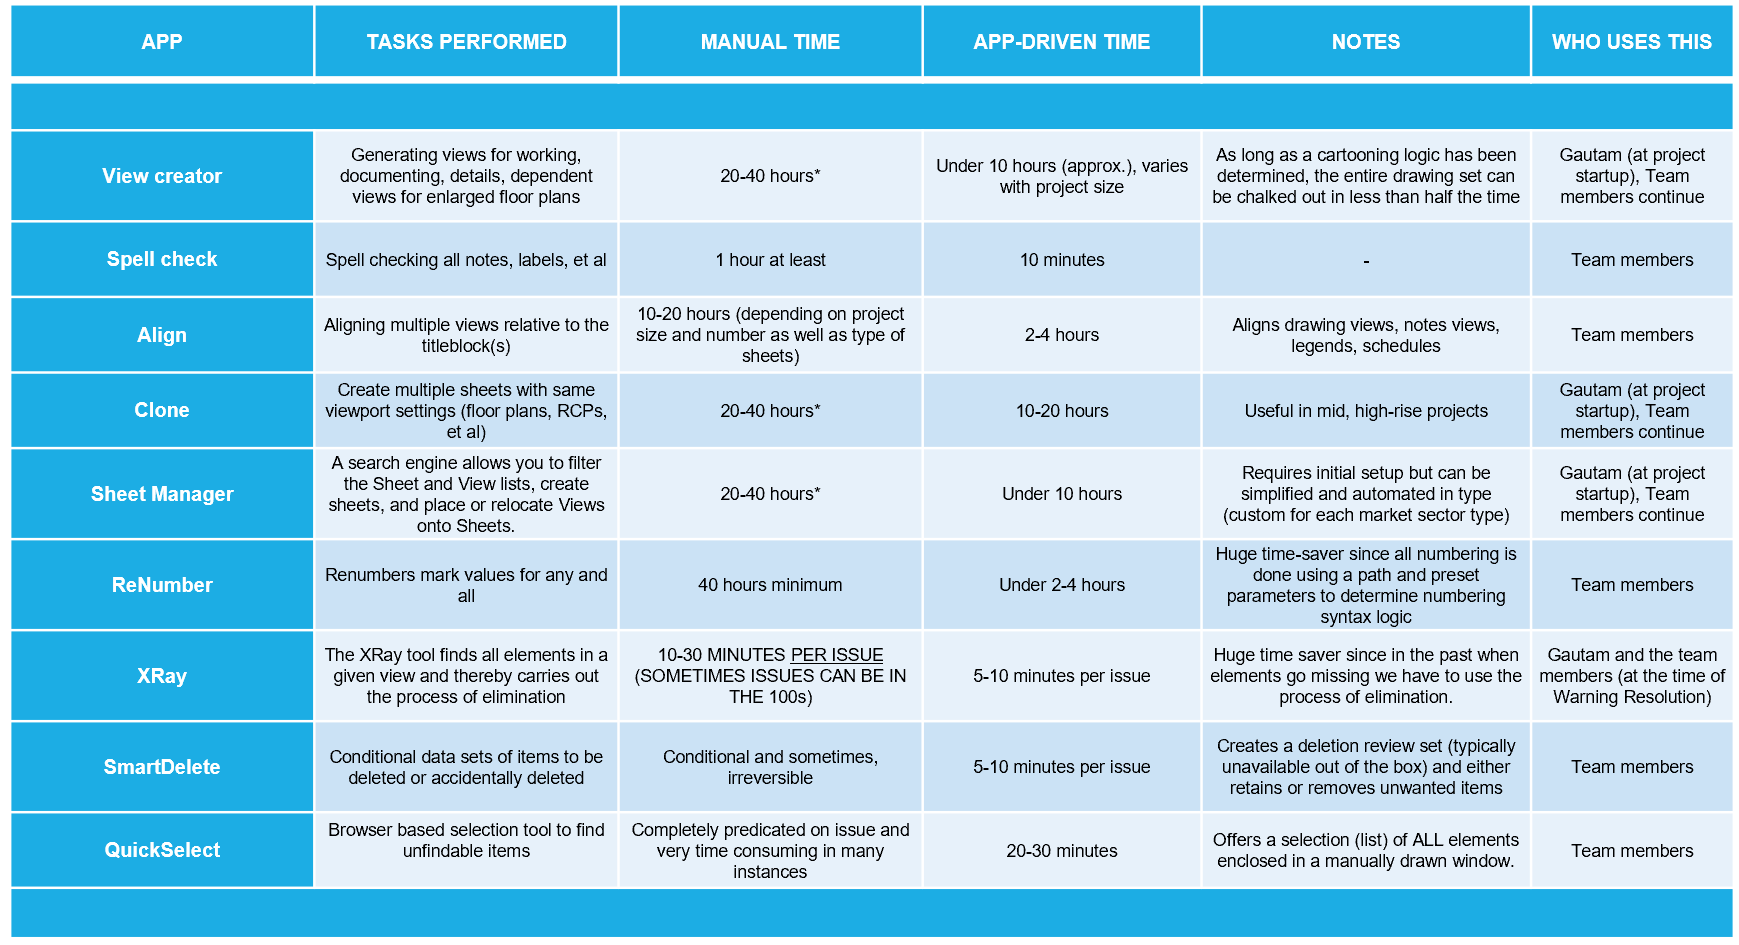
CLIENT TESTIMONIAL - ARTICLE | Ideate Software is pleased to present this blog post by our customer, Gautam Shenoy, BIM-VDC Director at Steinberg Hart.
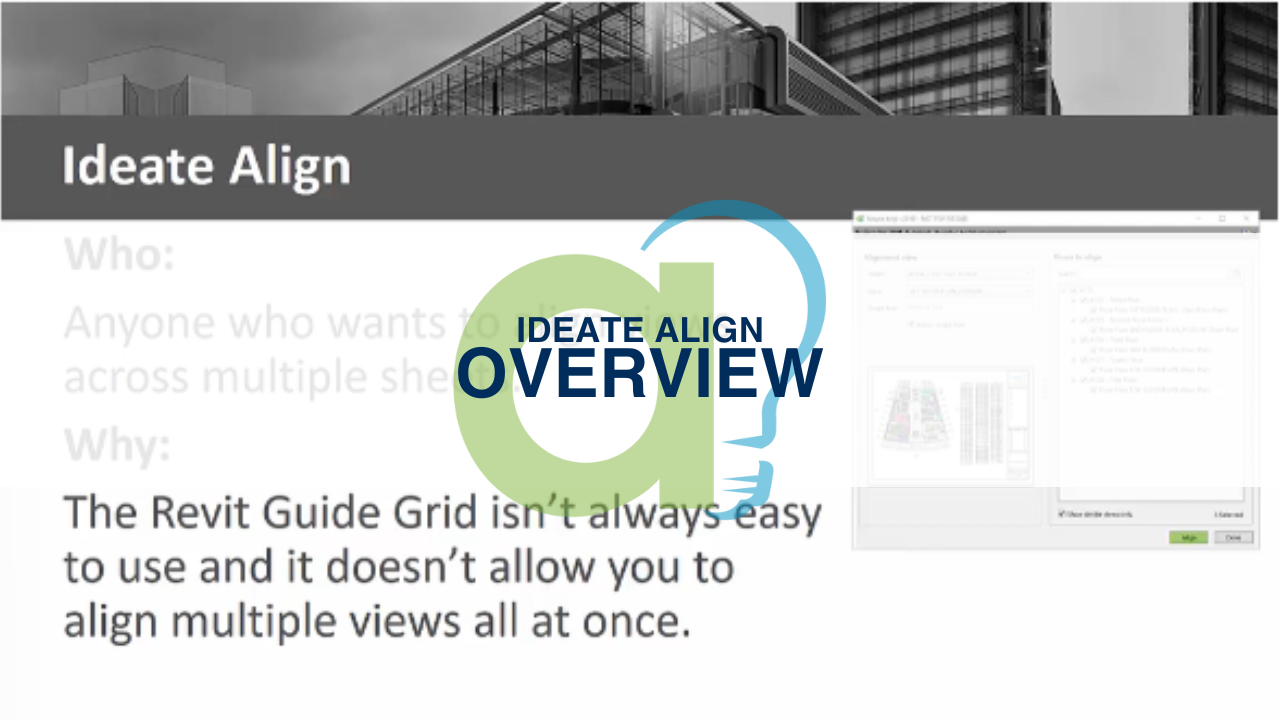
OVERVIEW - VIDEO | See how easy it is to align multiple Views across Sheets by using the model coordinates of similar Views or by keeping the View position relative to the Title Block.

SUPPORT - ARTICLE - VIDEO | Here are links to the help files for all the tools in the IdeateApps collection.
HELP FILES - ARTICLE | For step-by-step instructions to Ideate Align, check out our extensive help files.

