Purging Imports in Revit Models with Ideate Explorer
Here are instructions on how to use Revit’s Purged Unused tool to purge symbol imports:
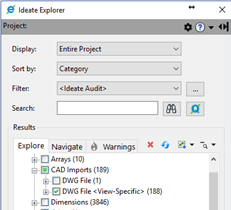
- Start Ideate Explorer
- Locate the CAD imports you want to delete
- Check the box next to the CAD import you want to delete
- Use the “Delete Tool” in the “Modify Panel” of Revit
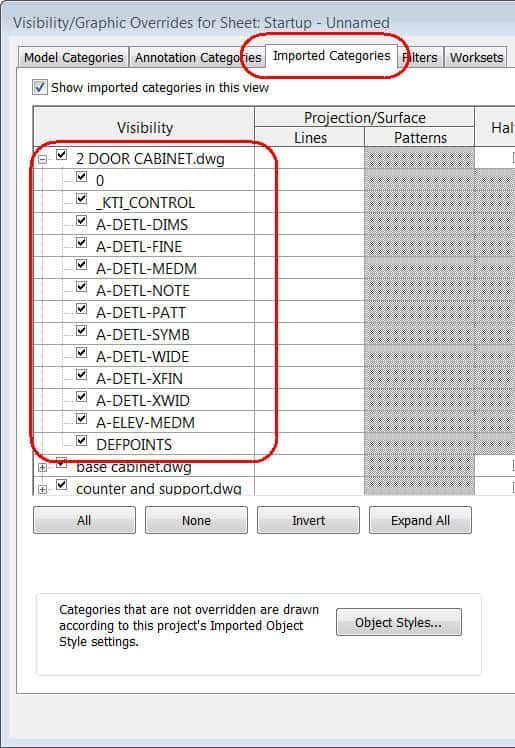
- Type VV or VG or the Visibility/Graphics tool under the View Panel in Revit to select the Visibility Graphics Dialog
- Select the Imported Categories tab.
- Review the information. NOTE: You may see that the deleted CAD import still appears in the Imported Categories Visibility Tab. Choose the + icon to expand the list of imported categories to review.
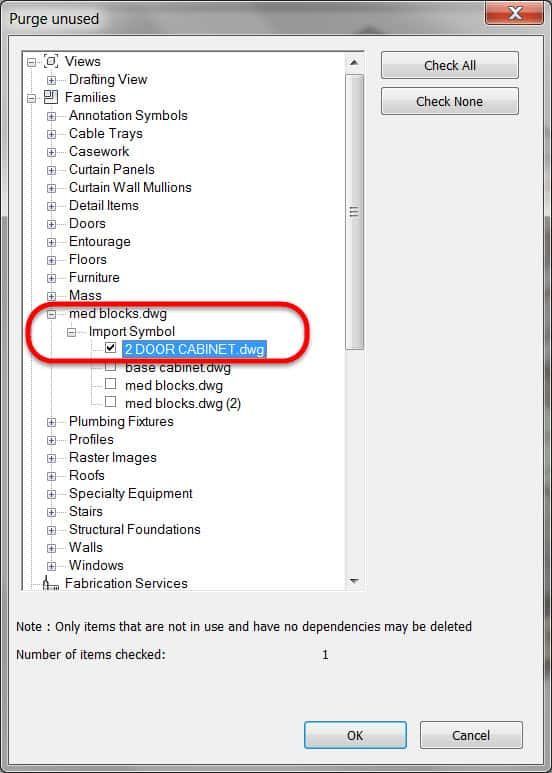
- Select the “Purged Unused” tool from the “Manage Panel” in Revit.
- Review Imported Symbols in Families and check items NOT used that you would like to purge or delete.
- Because the “Purge Unused” tool in Revit works as a multi-step process, you may need to purge several times to drill down to the items you would like to remove.
IMPORTANT: Ideate Explorer can't look into individual families from the project environment to search for nested CAD imports and symbols. CAD Imports will still show in the Visibility Graphics Dialog under the Imported Categories then Imports in Families list if CAD Imports are being used in families within the project.
Ideate Explorer can look into each loadable family when you open and edit the family to review if that specific family contains CAD imports.
Title blocks and generic model families are good places to start an investigation, because they typically contain CAD Imports. Revit In-Place Families can also contain imported CAD information, however current Revit API limitations don’t allow Ideate Explorer to review or delete the information contained there.
For detailed analysis, merging, or deletion of Revit object styles, including import styles, we recommend that you use Ideate StyleManager.
Explore recent posts


