How do I Safely Move Elements to Another Level?
Finding a bad level in your Revit model should strike fear in your heart.
here are a wide variety of model conditions that might be at risk when this happens. Virtually all content placed in a Revit model has a level association. The good news is that you can follow the basic steps documented in our Ideate Explorer – How To topic to learn how to manage this type of challenge.
The basic steps are useful when you have a good level and a bad level on top of each other or when the model has not been fully developed. As the model becomes more complex, we must be more cautious when selecting and moving elements. For example, before moving any element, make sure that the base constraints with their offsets make sense and check for proper modelling. Fix that first then attempt moving the elements. E.g., Element placed at Level 1 with offset 10.’ This means that this element needs to be on Level 2 with offset 1’ given that the height of Level 1 is 9.’
If you are trying to work through the challenges of moving a complex model from one level to another, here are some detailed workflow tips on how to handle different elements categories and the order of operation:
Walls
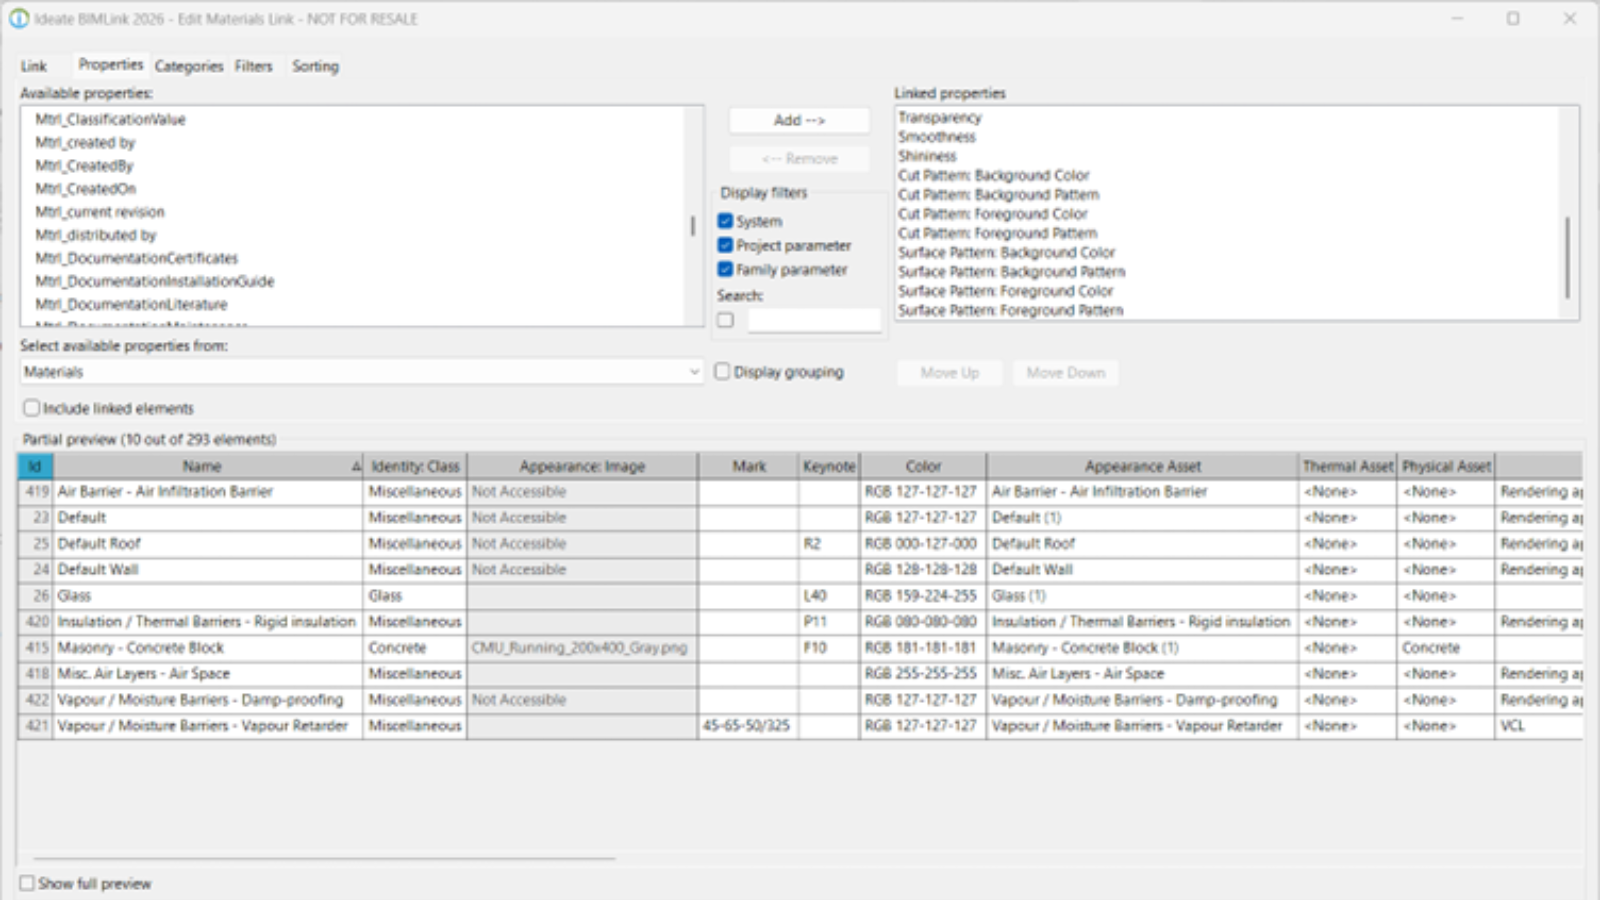
For walls, when sorting by level with Ideate Explorer, you are seeing the base constraints indicating the level they’re on. To move them to another level, you must utilize Ideate Query and show related parameters when moving a wall, e.g., Base Constraint, Base Offset, Top Constraint, and Top Offset.
Walls with Edited Profiles
You can find walls with edited profiles using Ideate Query and filtering “Has Edited Profile.” If you move a wall, you must make sure that you move both the top and base constraint at the same time to keep the wall proportions the same. Otherwise, you’ll run into “The top of the Wall is lower than the base of the Wall.” In some instances, grouping the walls with multiple edited profiles openings, moving them and ungroup them can also be useful. The level datum in that instance will be the group.
Curtain Panels
Curtain panels follow their host, curtain walls. Don’t select them when moving walls. Instead move the curtain walls.
Wall Hosted Elements, i.e., Doors, Windows, Security Devices
When moving Doors, the walls will remain in the same spot, you can’t move the doors and walls at the same time, because Revit level parameters for these elements are not the same. When moving the doors, make sure they don’t lose their host. In this instance, you can also utilize Ideate BIMLink to move these elements using their respective parameter.
Wall Sweeps and Reveals
Wall sweeps and reveals are challenging to move in Revit. Move the walls first, then adjust the sweeps and reveals accordingly. When moving the walls, Revit will prompt if you want the reveals to be deleted when their host wall is moved. You can choose to not delete them and move them the second step. For horizontal sweeps and reveals, utilize Ideate Query and filter “Level: Name” to batch-select them and move them to the new level. Pay attention to “Offset from Level.” Vertical sweeps and reveals however behave differently. They don’t have level association, but you can use Ideate Query and filter “Offset From Level Parameter” and “Length” and move similar parameters together.
In-Place Families
In-place families do not have an associated level. Create a view with the level to be deleted, select the in-place elements visible in the view using Ideate Explorer, then move them in elevations with the Revit move tool while the disjoin checkbox checked and constrain checkboxes unchecked. Note when Disjoin is checked, any associated annotation tied to the element will get deleted. Revit will notify you. If there is no height change between old and new level, the in-place family will not be affected.
Groups
If the group origin matches the group level, moving groups to another level should be relatively easy. The difficulty in moving groups to another level depends what elements are inside the group. If groups contained walls, you must make sure that the proportions don’t change in terms of wall height, so Revit doesn’t think it’s a new group when moving the group. This prompts “Fix group” by creating another group type. You can prevent this issue by fixing the walls level association top constraint before moving them. You can either set Top Constraint to Unconnected or set the top and base constraints to be equal the same level and include a top offset value. The beauty about the second approach that it allows you to associate a global parameter to your top offset.
Decals
Decals don’t have level association; they attach to their host wall, and they move accordingly.
Topography
They don’t have level datums; they are relative to the project location. Treat them like in-place families and move them in elevation.
All Disciplines Family Hosting: Face Based
Face based families have “Schedule Level,” “Elevation from Level,” “Host,” “Offset from Host,” and “Host: Base Level” parameters. You can utilize Ideate Query to filter by any of the related parameters and decide accordingly. If you move the host in this instance, the element will move with it. In some instances, matching the element level and host level is necessary, you can utilize Ideate Query and look for “Schedule Level” and “Host: Base Level.” Tip: If the host is deleted, the element will not get deleted. The hosting will become <not associated>.
All Disciplines Family Hosting: Element
Elements hosted on other elements e.g., Lighting Fixture on Ceilings rely on the host for positioning. Move the host first. Depending how the family is built, you can find the following parameters using Ideate Query: “Level,” “Host: Base Level,” “Default Elevation.” The “Level” parameter in this type of family needs to match the “Host: Base Level.” You can batch select these elements and match them with Ideate Query. Tip: If the host is deleted, the element will get deleted. Element hosted families are scary, I don’t recommend them.
All Disciplines Family Hosting: Reference Plane
In this type of family, we can’t rely on the “Schedule Level” parameter accuracy to determine if their location in 3D space is correct. In that instance, create a floor plan or ceiling plan view and select these elements that are visible in that view with Ideate Explorer. Then utilize Ideate Query and look for “Elevation from Level” If the elevation doesn’t make sense to the level location, then the “Schedule Level” parameter is not correct. Tip: If the reference plane is deleted, the element will not get deleted. The hosting indicating the reference plane will become <not associated>. When you move a reference plane, make sure you check Constrain and uncheck Disjoin. This will keep the element hosted to the Reference plane. Otherwise they will lose association.
In summary, fixing an incorrect level within a well-developed Revit model is very challenging! Hopefully these tips will provide a roadmap to help you move forward.
Explore recent posts


