Explore the Library
Ideate Software Resource Library
This is your one-stop-shop for all articles, client testimonials, news, events, brochures, and more. Enter text in the search bar to the right or use the dropdown menus to hone into the specific content you are interested in viewing.

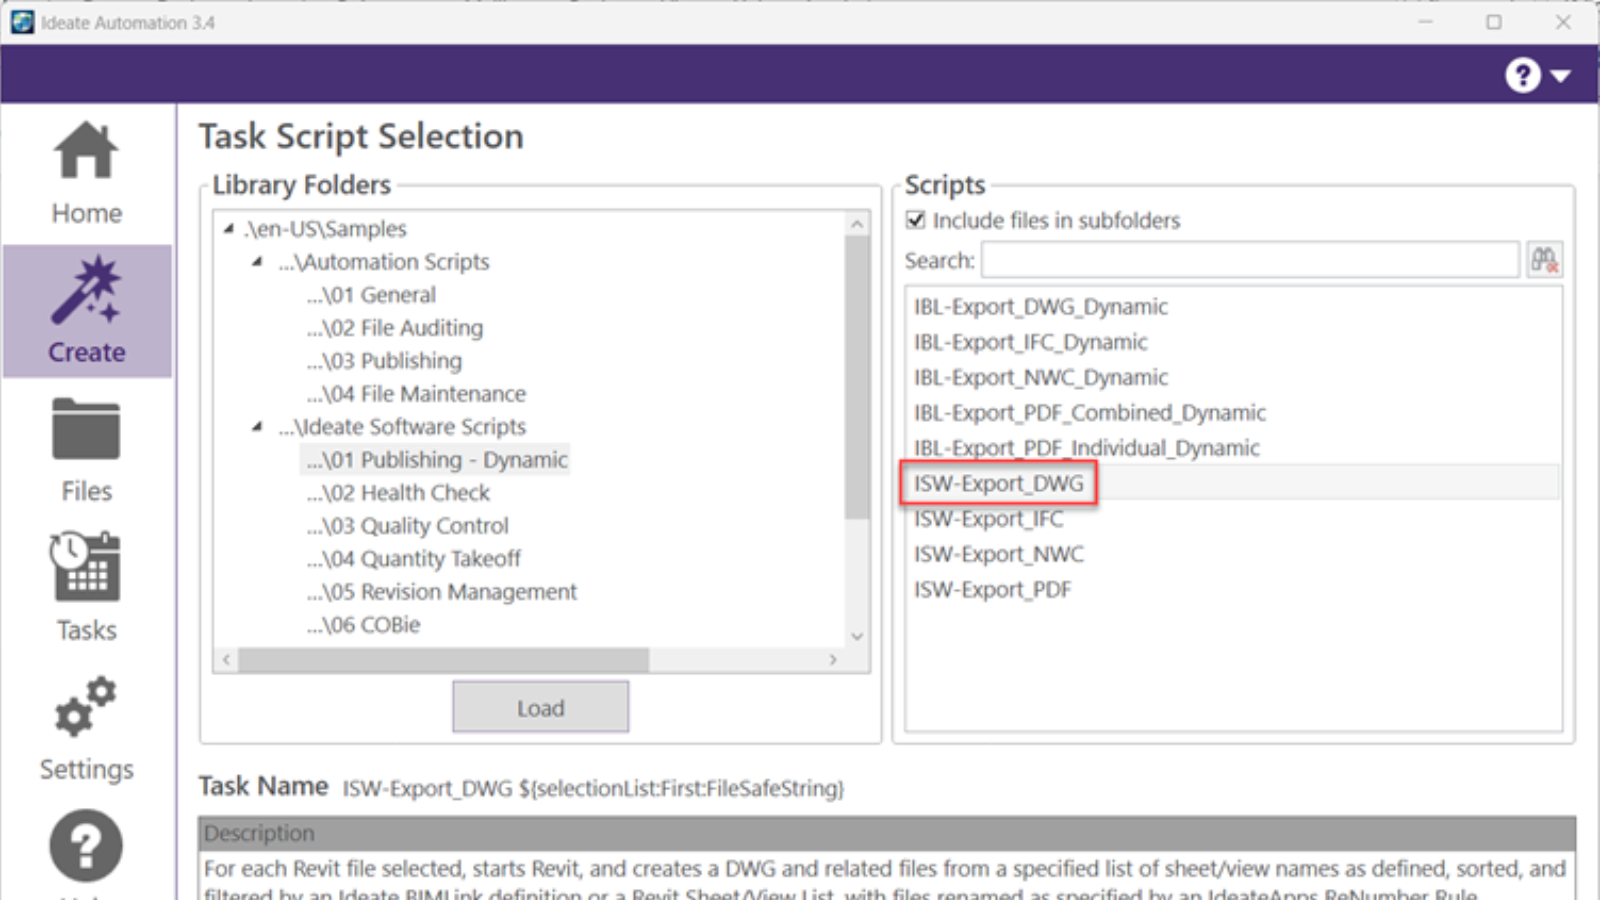
TRAINING - ARTICLE | Creating DWG exports from Revit models is still an important deliverable in most AEC projects. When exporting to DWG from Revit, there is no way to control the names of the resulting dwg exports. We are limited to the choice of Short (sheet number) or Long (Revit model name, sheet, etc.).

TRAINING - VIDEO | Easily create curtain wall elevations in Revit!
Creating curtain wall elevations doesn’t have to be time-consuming. With Ideate ViewCreator, you can quickly generate curtainwall elevations from 2D view or 3D elements customize view naming, apply view templates, avoid duplication, etc.

CLIENT TESTIMONIAL - ARTICLE | ZGF Architects, a leading North American design firm focused on sustainable architecture, used Ideate Software for Revit to streamline workflows and meet strict UK BIM standards on two major Canadian hospital projects while managing over 1,300 sheets across 11 Revit models.

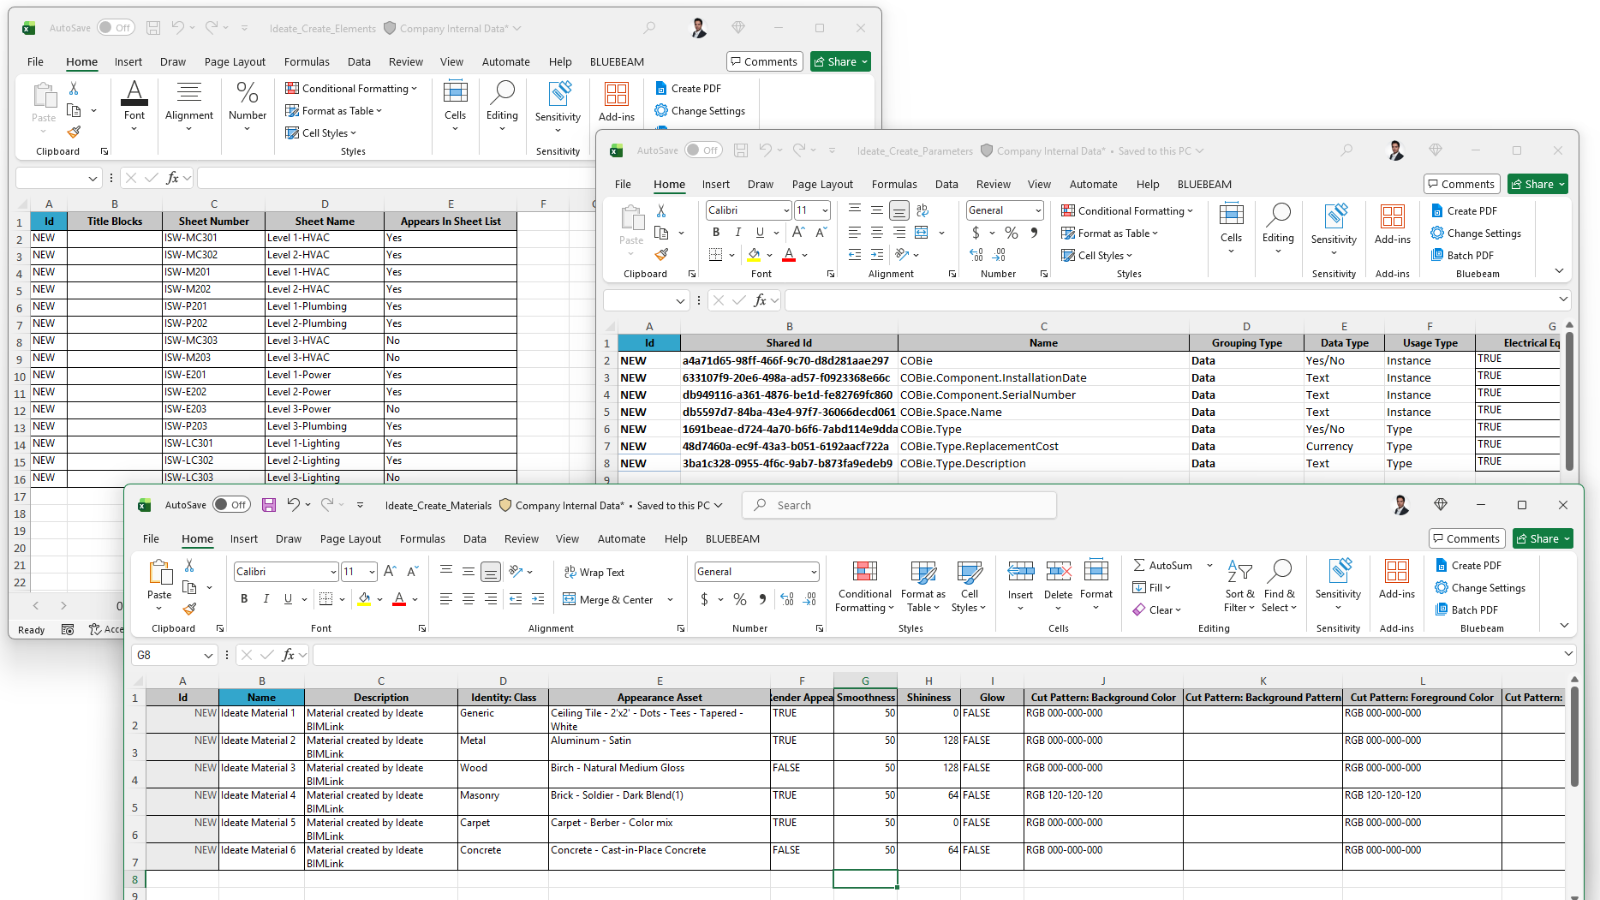
NEWS - ARTICLE - VIDEO | The release of Ideate Automation 3.4 enhances Revit workflows and is packed with several new features designed to dramatically improve Revit file BIM data parameter management, including localization, enhanced file handling, and powerful batch operations for Revit project and family files.

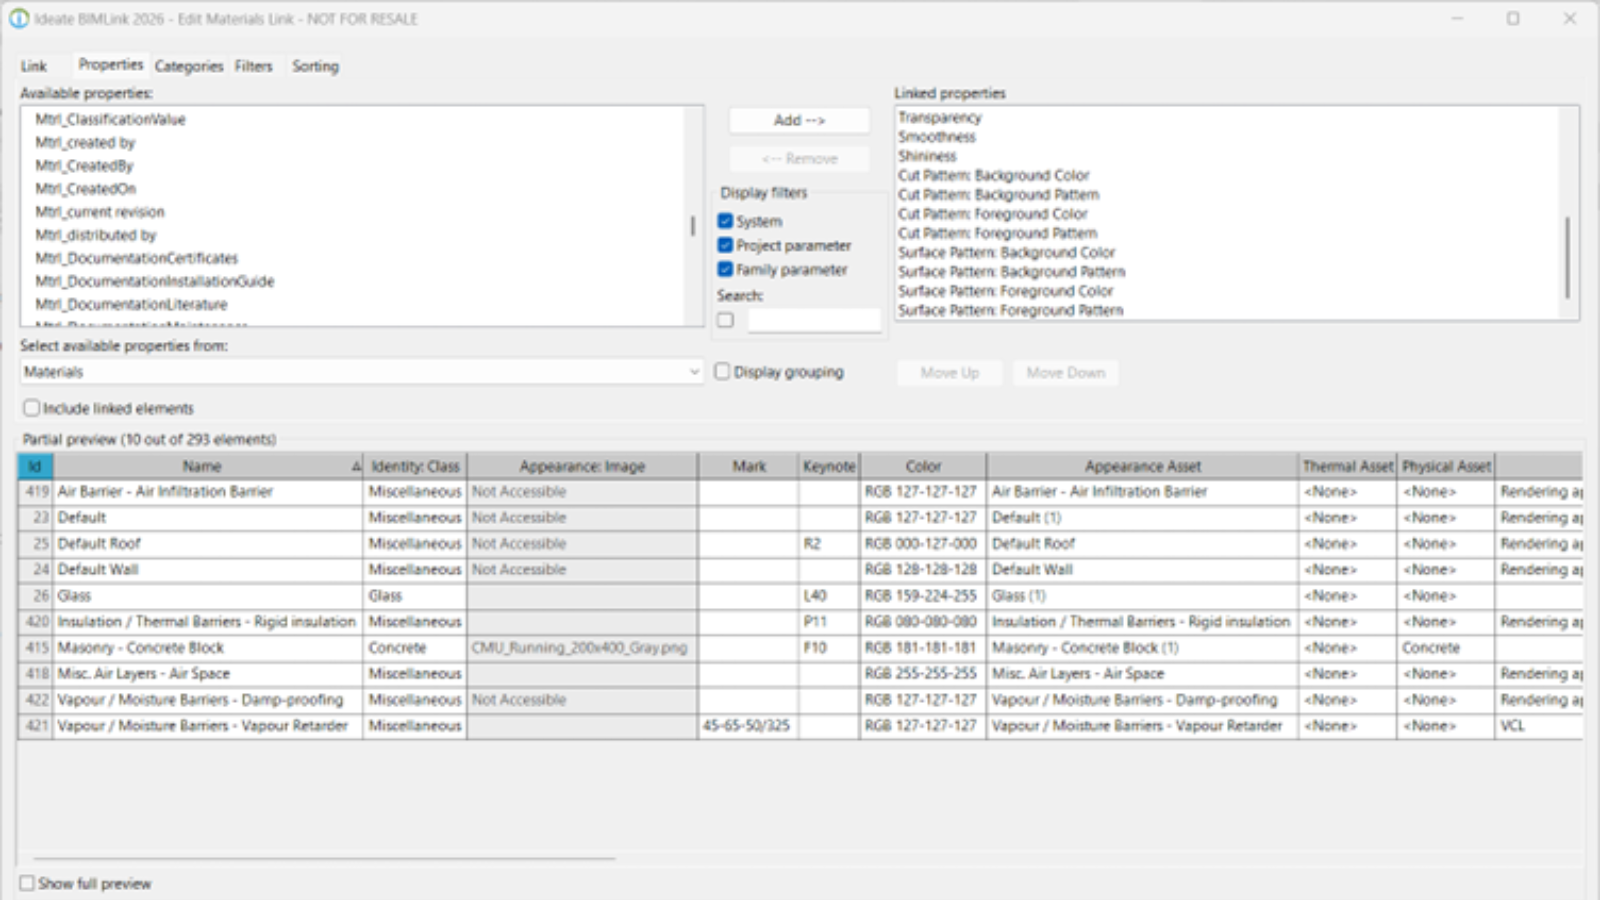
NEWS - VIDEO | In this recording of Revit Made Smarter, we dive into the newest features and productivity boosts in Ideate Software for Revit 2026. From smarter automation to new language support (Czech, Polish, and Italian!), see how our latest updates help you work faster, stay accurate, and do more with less effort.


