Explore the Library
RESOURCE LIBRARY EDUCATION
Training Series
At Ideate Software, we are committed to making our products easy to use. Here are articles, how-to videos, recorded webinars, and more that provide step-by-step workflow demonstrations.

TRAINING - NEWS | Leveling up your BIM game with Ideate Software doesn’t have to hard or time-consuming with our 15@15 Training Series. This series of 15-minute online sessions cuts right to the chase with essential information to enhance your skills, unlock new efficiencies and elevate your ability to automate tedious tasks —all while reducing errors in your Revit model.
TRAINING - VIDEO | We've recently upgraded IdeateApps, introducing new functionalities to Ideate Annotate. These enhancements include the ability to Intelligently batch-add tags, control tag locations relative to the tagged element as a default or override, and tag the active view or all open views.
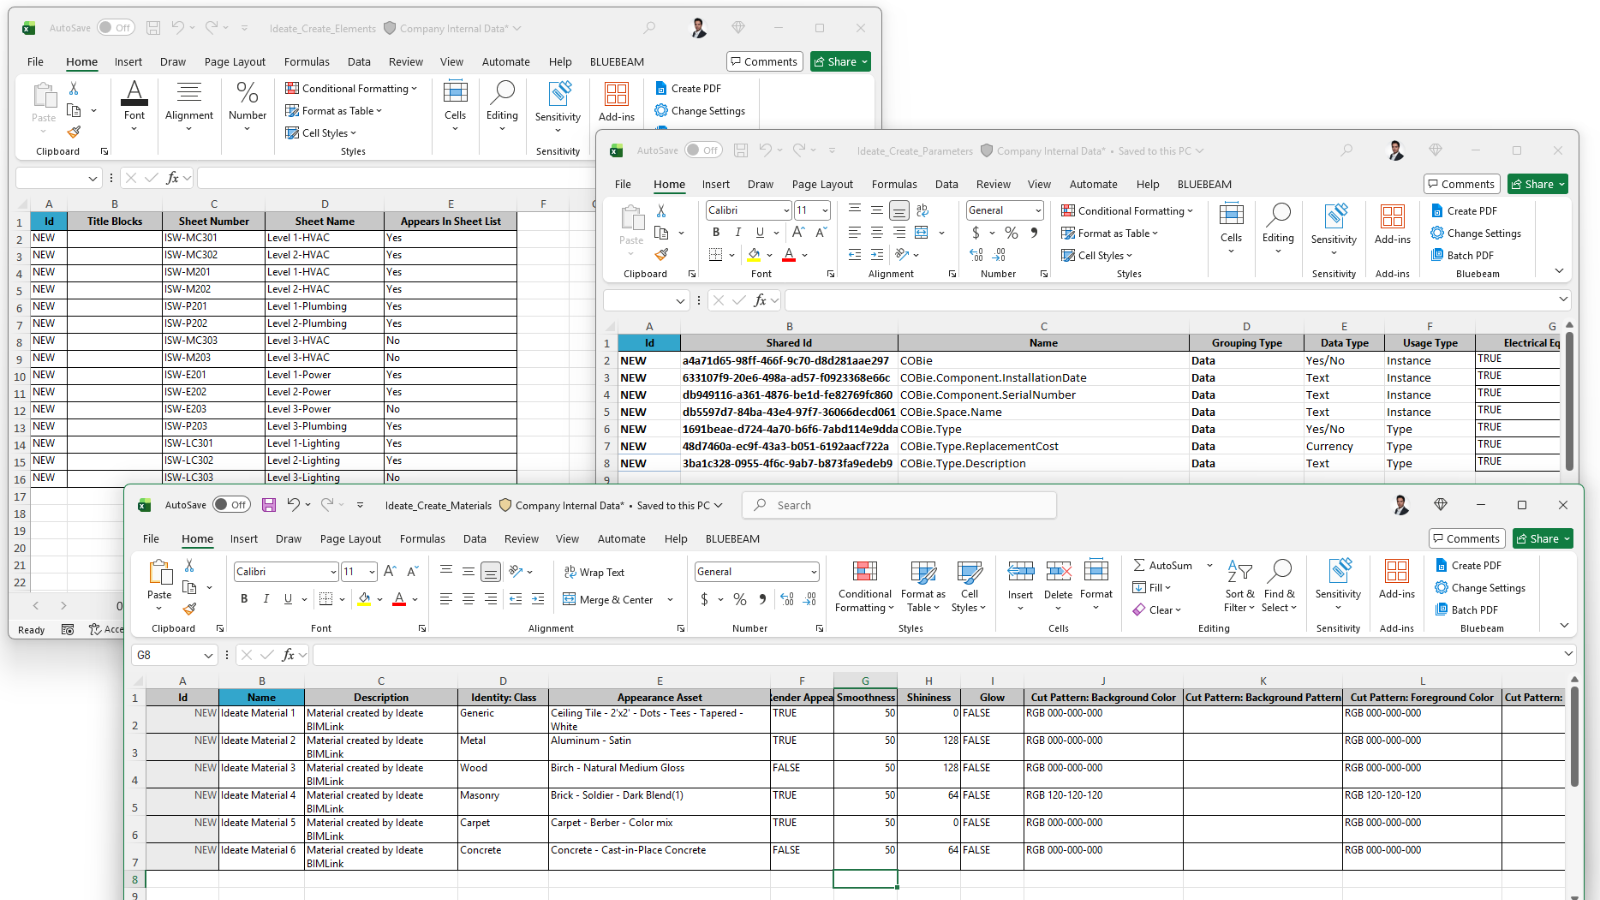
TRAINING - ARTICLE | Ideate Automation provides a purpose-built solution for Revit content creation automation, allowing teams to use Microsoft Excel to drive data directly into Revit models and families.
TRAINING - ARTICLE | One specific area of digital transformation, regulatory shifts, or market demands is the Circular Economy - which aims to eliminate waste and keep materials in use for as long as possible.
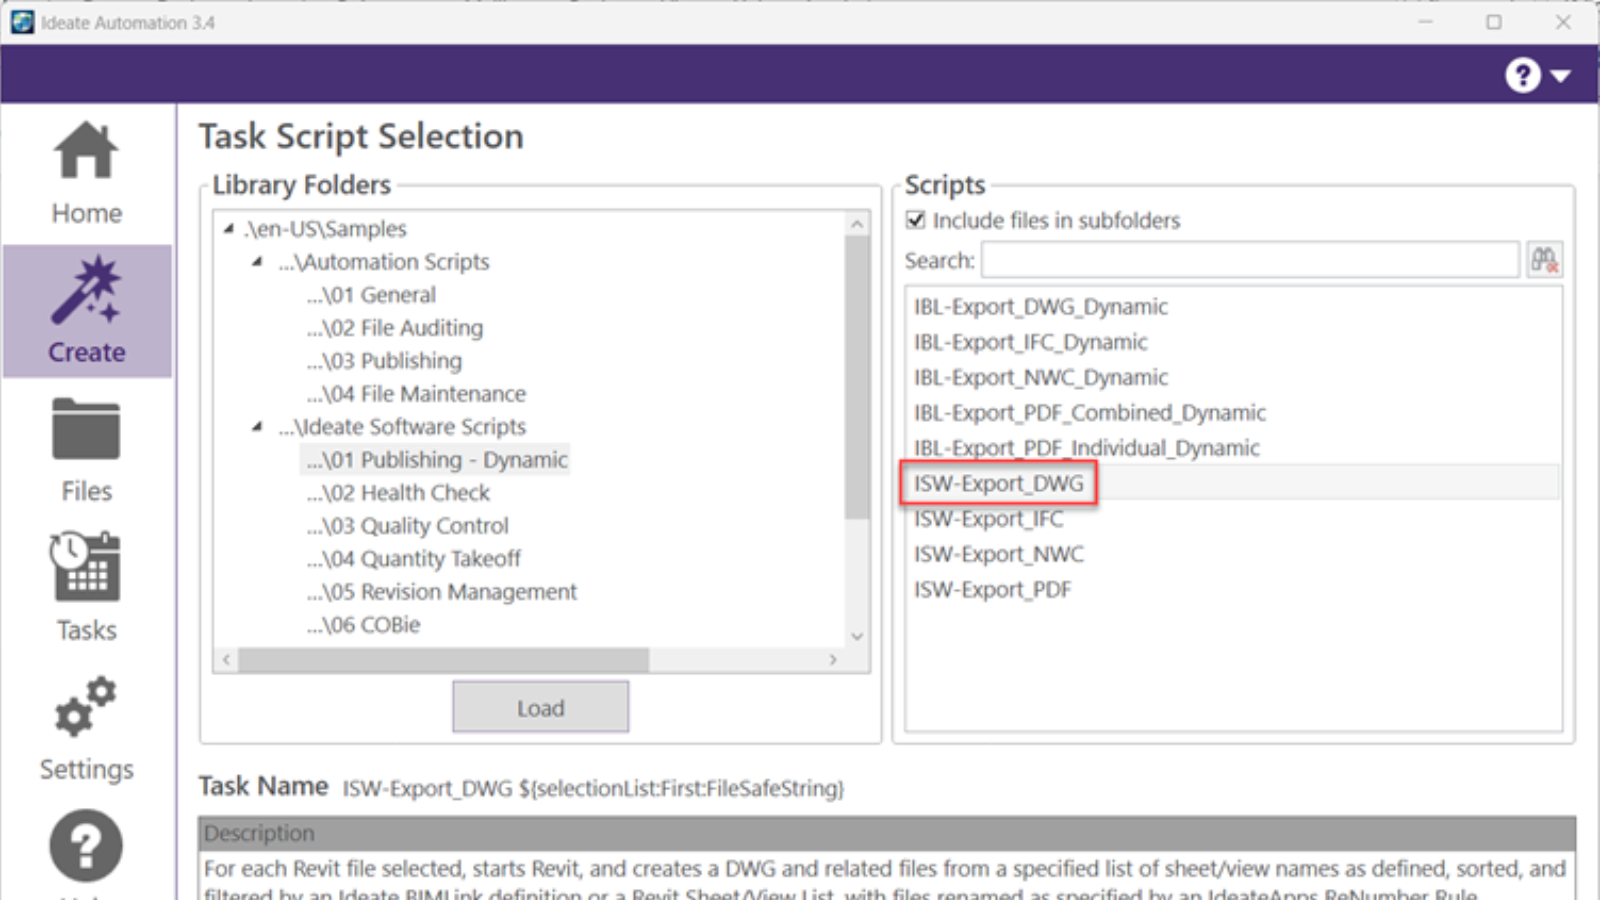
TRAINING - ARTICLE | Creating DWG exports from Revit models is still an important deliverable in most AEC projects. When exporting to DWG from Revit, there is no way to control the names of the resulting dwg exports. We are limited to the choice of Short (sheet number) or Long (Revit model name, sheet, etc.).

TRAINING - VIDEO | In this webinar recording, we’ll show you how to elevate your modeling and documentation workflows using Ideate Software. Learn how to keep your Revit files clean, eliminate model clutter, and streamline project management — all while saving serious time and reducing frustration.

NEWS - VIDEO | Discover powerful updates like smarter element selection in Ideate Explorer, refined graphics in Sticky, material quantity takeoff in Ideate BIMLink for easier carbon analysis, and batch creation of 3D views in IdeateApps.
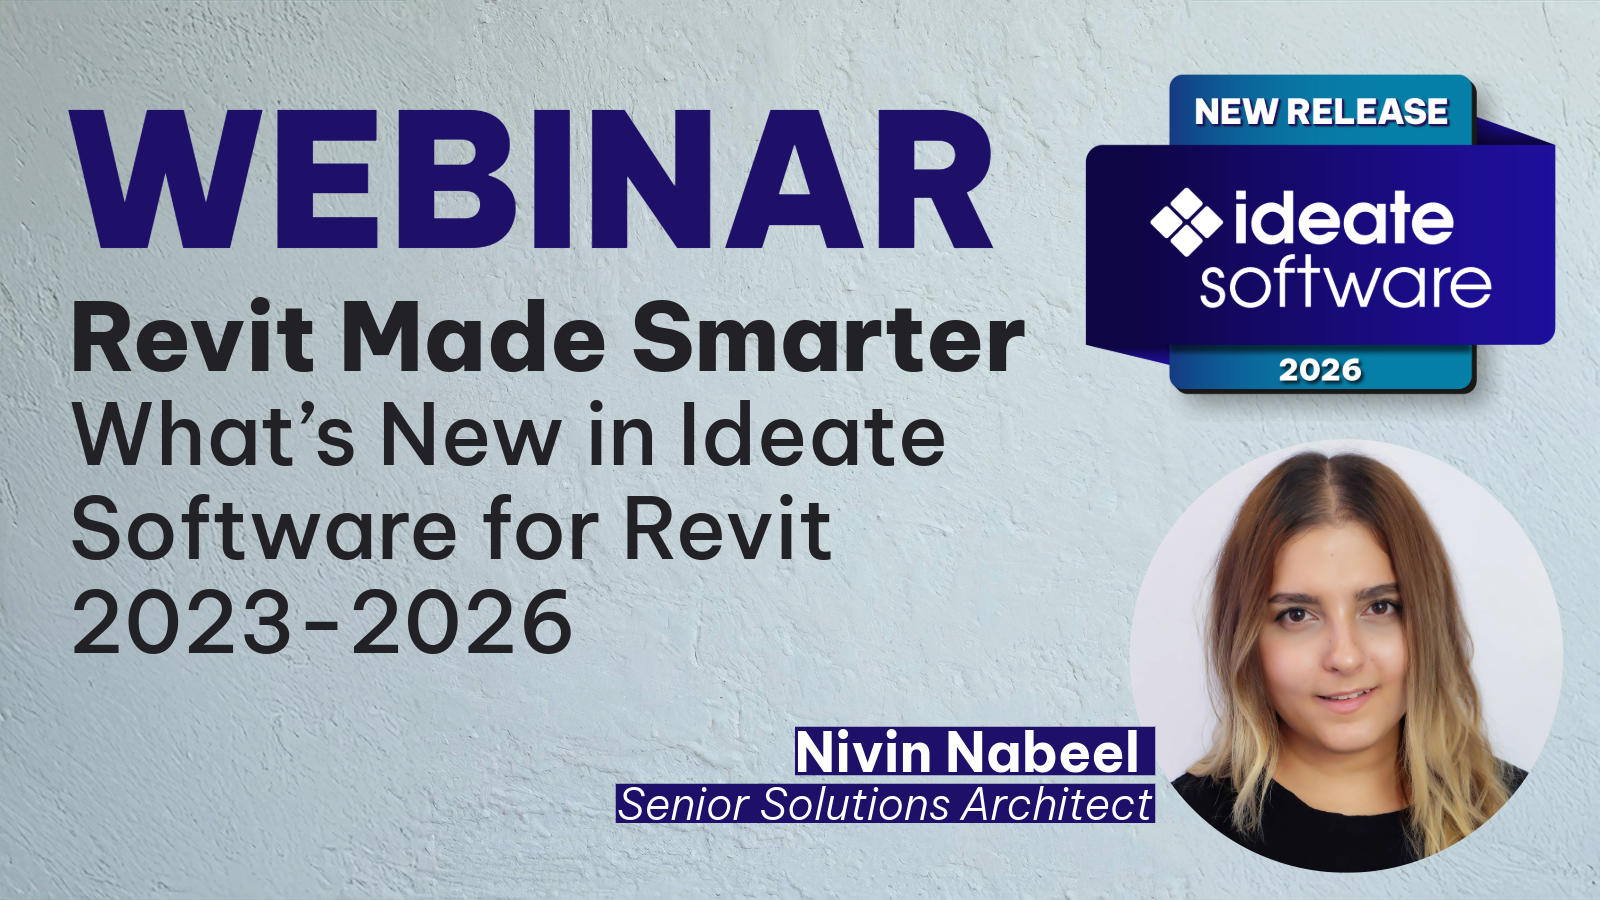
NEWS - VIDEO | In this recording of Revit Made Smarter, we dive into the newest features and productivity boosts in Ideate Software for Revit 2026. From smarter automation to new language support (Czech, Polish, and Italian!), see how our latest updates help you work faster, stay accurate, and do more with less effort.

TRAINING - VIDEO | Create new Revit elements effortlessly with Ideate BIMLink. Learn how to generate sheets, rooms, spaces, custom families, and more, enhancing project efficiency.
Unlock powerful Revit creation tools with Ideate BIMLink.

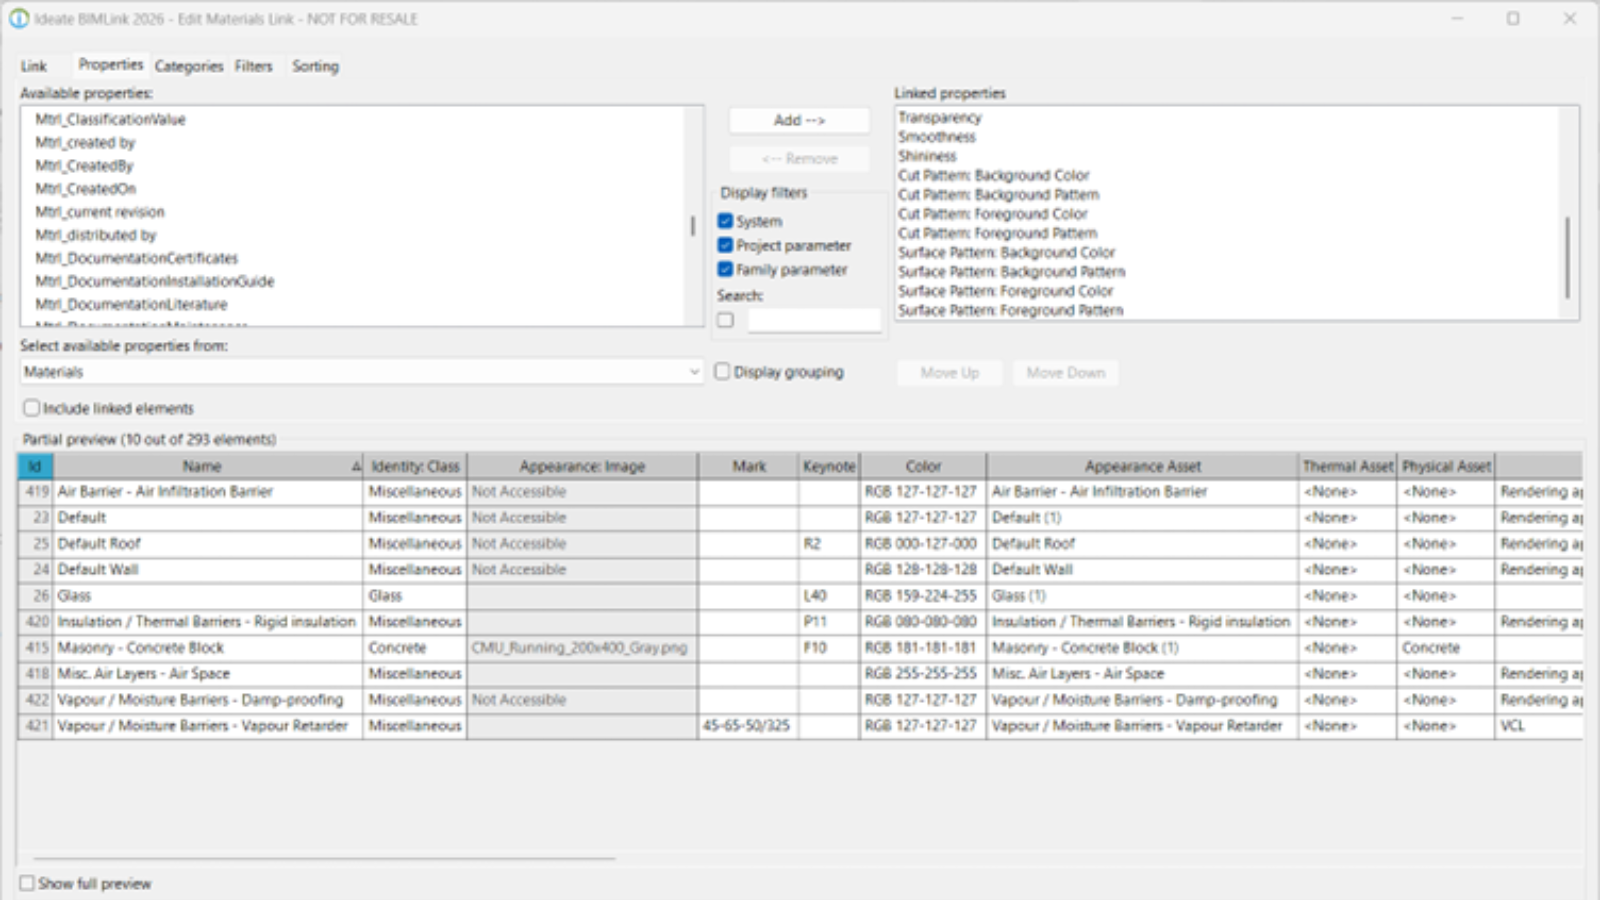
TRAINING - VIDEO | Manage Revit linked file data with ease using Ideate BIMLink. Extract, report, and sync Room, Space, and revision data across project files for better consistency.
Optimize your Revit data management with Ideate BIMLink.
TRAINING - VIDEO | Master Key Schedules in Revit with Ideate BIMLink. Learn how to create, manage, and optimize them for better data control and project efficiency. Take your Revit data management to the next level with Ideate BIMLink.

TRAINING - VIDEO | Import and scale embedded Excel images in Revit with Ideate Sticky. Enhance project communication by seamlessly integrating visuals into your Revit files.

TRAINING - VIDEO | Integrate Excel data seamlessly into Revit with Ideate Sticky. Create and publish information sheets as startup views for instant access to key project details.
Enhance communication and efficiency with Ideate Sticky.
TRAINING - VIDEO | Simplify Revit object style management with Ideate StyleManager. Easily analyze, rename, merge, and remove imported styles from CAD links and exploded files.
Keep your projects clean and organized with Ideate StyleManager.

