Yes, Go Ahead and Rename that Shared Parameter *
The whole point of Revit's shared parameters is that a unique parameter name is created so that data can be embedded within multiple Revit families and still be recognized as being identical. This allows us to say, for example, that this "SerialNumber" property on this Air Terminal is the exact same property as the serial number identified within a Plumbing Fixture family. If they are not identical, then Revit will display these properties in two different columns within a Revit file. This method of creating a unique value is essential to the integrity of any asset management system.
As we discussed in an earlier post, there does tend to be some confusion about when to use a shared family parameter, versus a shared project parameter or even a simple project parameter. However, once you've decided that a shared parameter is needed, the next decision you will confront is what to name the parameter. This is an important decision, because from the moment the parameter is named it is given a unique identifier, aka the GUID. The GUID is not derived entirely from the name or other settings so it cannot be re-created other than by re-importing a shared parameter from an existing shared parameter text file.
So, what's a BIM Manager to do when confronted with the need to rename a shared parameter? Any values (e.g. the serial number values) assigned to this shared parameter will be lost if the parameter is deleted. If you've already populated a lot of instance values against a shared parameter that you now need to rename, you'll want to follow these steps:
- Save the existing shared parameter values.
- Create a new shared parameter with the desired name - preferably by importing from a Shared Parameter text file.
- Import the old values into the new shared parameter.
- Delete the older shared parameter now, safely!
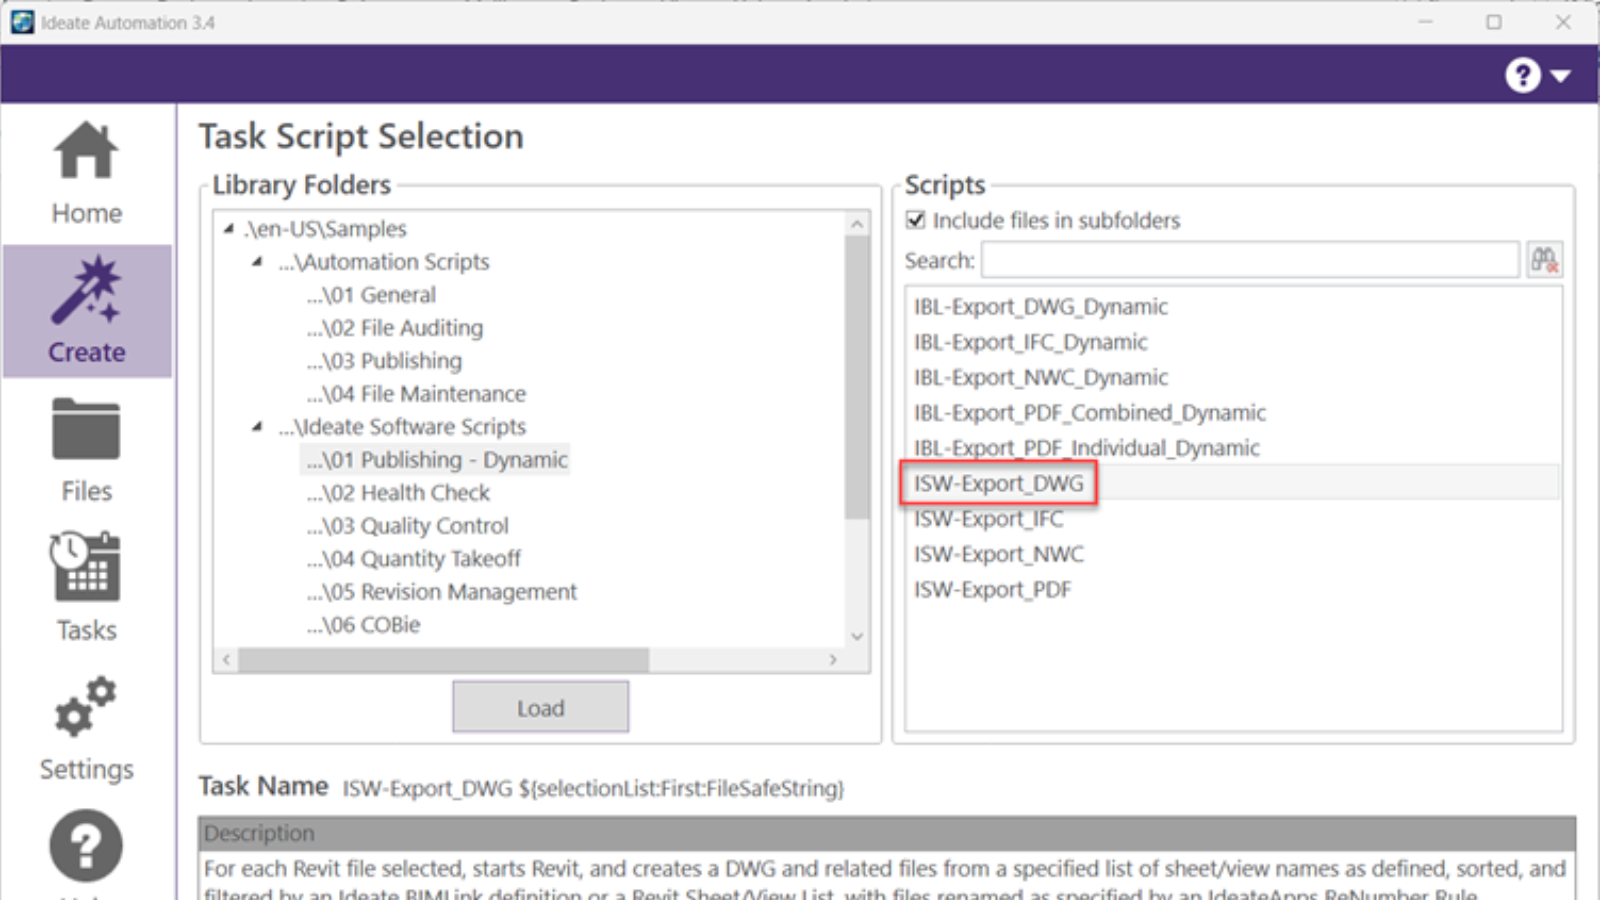
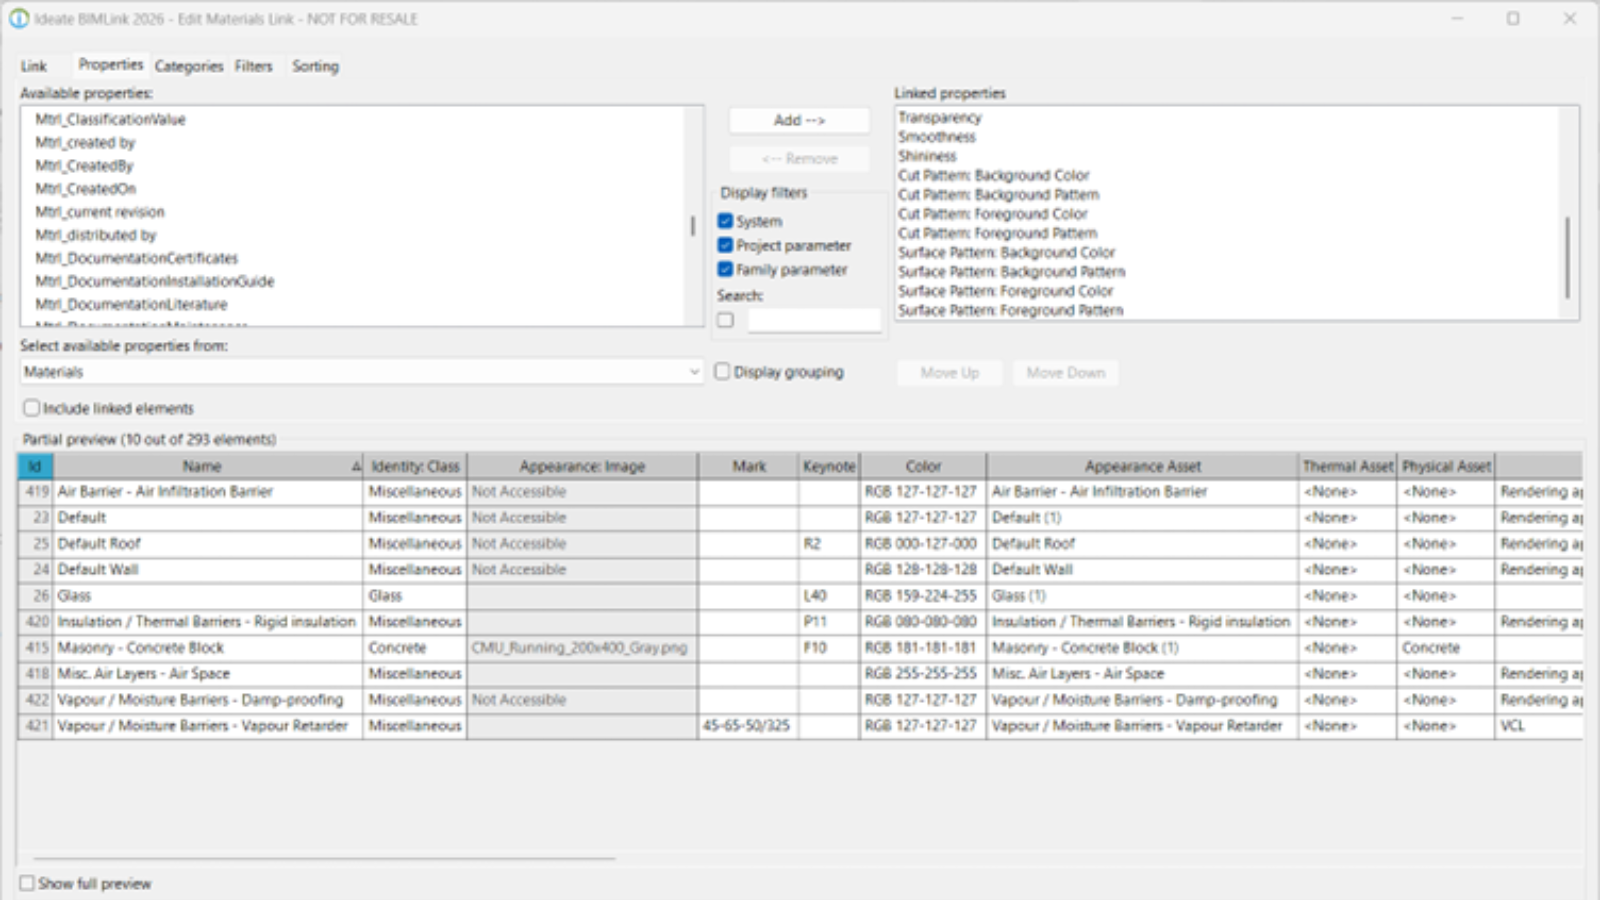
* So, while it's actually not possible to rename a shared parameter as a method to match another shared parameter, Ideate BIMLink can solve this dilemma by automating the process as described. See how in the video shown above.
Explore recent posts


